... > >

Best Bluey cake birthday 2024

If you’re a fan of bluey cake and eager to create a show-stopping Bluey cake that will delight both kids and adults alike, you’re in the right place. Our bake-at-home kits are designed to make crafting your very own Bluey cake fun, easy, and oh-so-rewarding. So, let’s roll up our sleeves, unleash our creativity, and dive into the wonderful world of Bluey cake decorating together!

Ingredients

  1.  Chocolate Drip (125g) in Snowy White
  2. 2. 15″ Single Piping Bag
  3.  No.17 Plastic Star Piping Tube
  4.  Sprinks Blue Dog Sprinkle Mix (65g)
  5.  A5 Wafer Paper sheet with images
  6.  9″ White Masonite Cake Board
  7.  Set of 3 Frost Finishers

Your Choice of Cake Mix or Pre-Baked Cakes:

  •  Cake Mixes (Choose One):
  •  Bakels Buttacake (1kg)
  • Bakels Dark Chocolate Mud (1kg)
  • Bakels White Chocolate Mud (1kg)
  •  Pre-Baked Cakes (Choose One):
  • Bake Me Up Dark Chocolate Mud (2 x 6″ Cakes)
  •  Bake Me Up White Chocolate Mud (2 x 6″ Cakes)
  • Bake Me Up Caramel Mud (2 x 6″ Cakes)

Your Choice of Icing:

  • Gloss Frost (1L Tub) – A shelf-stable pre-made glossy buttercream
  •  Cake Cream 400g (Whisper White) – Swiss Meringue in a packet! Just add butter and water (hand or stand mixer required)

Your Choice of Colour:

  • Over the Top Gel Food Colours (Blue or Orange)

Optional Additions:

  • 10″ x 10″ x 10″ Tall Cake Box (for safe transportation)
  •  Scraper (to achieve professional cake finishing)

Note: We recommend baking a 6″ wide cake for this design. If you haven’t already got one in that size and have chosen a cake mix option, add a cake tin to your order!

Instructions

  1. Preparing the Cakes: Start by slicing your cakes in half using a large kitchen knife. Don’t worry too much about getting them perfectly even, as we’ll be covering them in frosting later on. Next, color your buttercream to your desired shade. Remember that the color will deepen over time, so go easy on the coloring if you prefer a lighter hue.
  2. Building the Cake Layers: To ensure stability, spread a thin layer of buttercream on your cake board before placing the first cake layer. Then, generously fill each layer with buttercream. Feel free to add extra toppings like caramel or chocolate sauce, and strawberries for added flavor and texture.
  3. Frosting the Cake: Using a spatula or bread knife, apply a generous amount of buttercream to the sides and top of the cake. Don’t worry about perfection here—we’ll be smoothing it out later. Once frosted, use a scraper to create clean edges for a polished finish.
  4. Adding the Chocolate Drip: Before proceeding, it’s essential to apply a crumb coat—a thin layer of icing that seals in any loose crumbs. Pop the cake in the fridge for a few minutes to set. Next, sharpen the edges to create a clean canvas for the chocolate drip. Warm up the chocolate drip according to the package instructions and gently pour it over the cake, allowing it to cascade down the sides.
  5. Decorating with Sprinkles and Piping: Once the chocolate drip has set, it’s time to get creative with sprinkles and piping. Sprinkle the sides of the cake with your favorite sprinkles, removing any large pieces for a smoother finish. Then, fill a piping bag with buttercream and pipe decorative swirls or patterns on top of the cake.
  6. Adding Final Touches: To finish off your Bluey cake, adorn it with Bluey-themed decorations like figurines or cake toppers. Strategically place them to cover any imperfections and add a playful touch to your creation.

Decorating and Serving:

Once you’ve finished making your Bluey cake, it’s time to think about presentation. The cake is sure to be the star of the party, but why not take the theme even further? Pair your cake with Bluey Party Supplies like themed plates, cups, and napkins. These extras will help create a cohesive Bluey-themed celebration that will delight both kids and adults.

This placement naturally fits into the flow of the recipe and provides readers with a valuable resource for enhancing their Bluey-themed party.

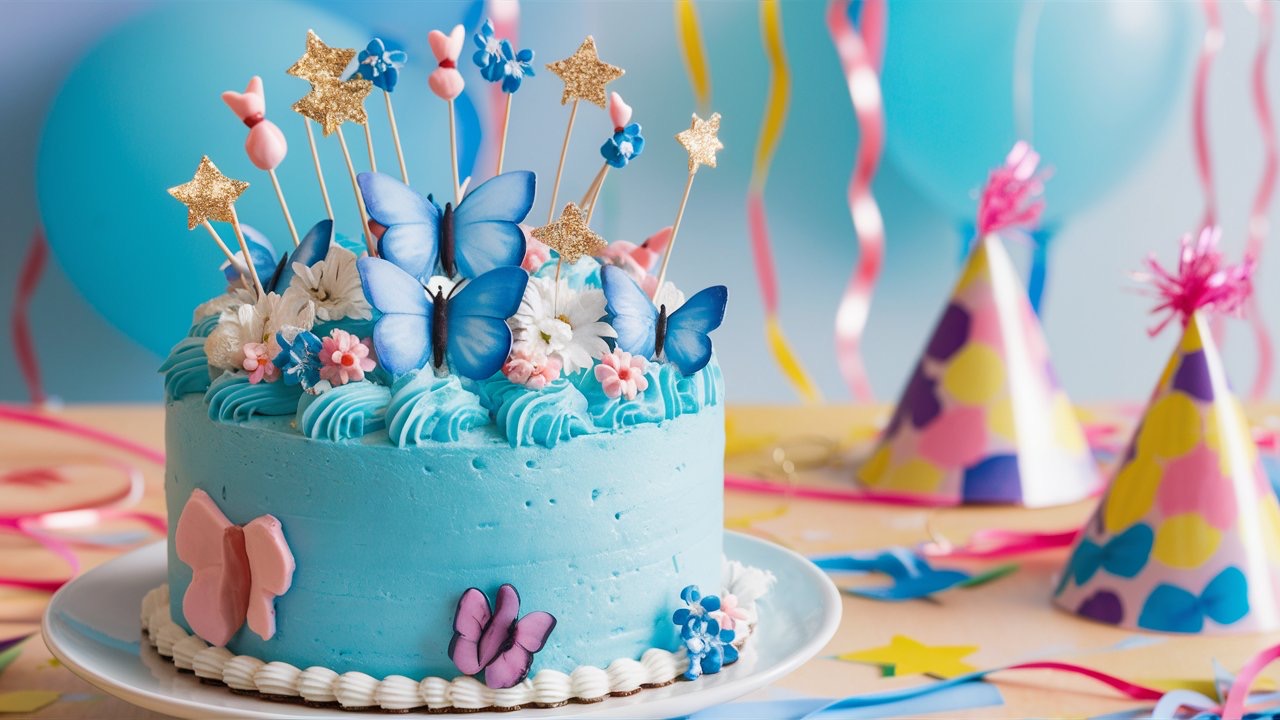
You’ve successfully crafted a Bluey cake that’s sure to impress! Whether it’s for a birthday celebration or a special occasion, this delightful treat will be the star of the show. Enjoy the creative process and savor every bite of your masterpiece!

FAQs for Crafting Your Own Bluey Cake

1. Can I customize the design of my Bluey cake?

Absolutely! Our bake-at-home kits are designed to be customizable to suit your preferences. Feel free to add extra toppings, change the color scheme, or even incorporate different cake flavors to make your Bluey cake uniquely yours.

2. Do I need any special baking skills to use your bake-at-home kits?

Not at all! Our kits are crafted with simplicity in mind, making them perfect for both beginner and experienced bakers alike. With easy-to-follow instructions and all the essential tools provided, you’ll be able to create a stunning Bluey cake with ease.

3. How long does it take to decorate a Bluey cake using your bake-at-home kits?

The time it takes to decorate your Bluey cake will depend on your level of experience and the design complexity. However, on average, you can expect the decorating process to take anywhere from 1 to 2 hours. Remember to take your time and enjoy the creative journey!

Print
clock icon cutlery icon flag icon folder icon instagram icon pinterest icon facebook icon print icon squares icon heart icon heart solid icon
Bluey cake

Bluey cake birthday recipe


  • Author: Olivia Harper

Ingredients

Scale
  1.  Chocolate Drip (125g) in Snowy White
  2. 2. 15″ Single Piping Bag
  3.  No.17 Plastic Star Piping Tube
  4.  Sprinks Blue Dog Sprinkle Mix (65g)
  5.  A5 Wafer Paper sheet with images
  6.  9″ White Masonite Cake Board
  7.  Set of 3 Frost Finishers

Your Choice of Cake Mix or Pre-Baked Cakes:

  •  Cake Mixes (Choose One):
  •  Bakels Buttacake (1kg)
  • Bakels Dark Chocolate Mud (1kg)
  • Bakels White Chocolate Mud (1kg)
  •  Pre-Baked Cakes (Choose One):
  • Bake Me Up Dark Chocolate Mud (2 x 6″ Cakes)
  •  Bake Me Up White Chocolate Mud (2 x 6″ Cakes)
  • Bake Me Up Caramel Mud (2 x 6″ Cakes)

Your Choice of Icing:

  • Gloss Frost (1L Tub) – A shelf-stable pre-made glossy buttercream
  •  Cake Cream 400g (Whisper White) – Swiss Meringue in a packet! Just add butter and water (hand or stand mixer required)

Your Choice of Colour:

  • Over the Top Gel Food Colours (Blue or Orange)

Optional Additions:

  • 10” x 10″ x 10″ Tall Cake Box (for safe transportation)
  •  Scraper (to achieve professional cake finishing)


Instructions

  1. Preparing the Cakes: Start by slicing your cakes in half using a large kitchen knife. Don’t worry too much about getting them perfectly even, as we’ll be covering them in frosting later on. Next, color your buttercream to your desired shade. Remember that the color will deepen over time, so go easy on the coloring if you prefer a lighter hue.
  2. Building the Cake Layers: To ensure stability, spread a thin layer of buttercream on your cake board before placing the first cake layer. Then, generously fill each layer with buttercream. Feel free to add extra toppings like caramel or chocolate sauce, and strawberries for added flavor and texture.
  3. Frosting the Cake: Using a spatula or bread knife, apply a generous amount of buttercream to the sides and top of the cake. Don’t worry about perfection here—we’ll be smoothing it out later. Once frosted, use a scraper to create clean edges for a polished finish.
  4. Adding the Chocolate Drip: Before proceeding, it’s essential to apply a crumb coat—a thin layer of icing that seals in any loose crumbs. Pop the cake in the fridge for a few minutes to set. Next, sharpen the edges to create a clean canvas for the chocolate drip. Warm up the chocolate drip according to the package instructions and gently pour it over the cake, allowing it to cascade down the sides.
  5. Decorating with Sprinkles and Piping: Once the chocolate drip has set, it’s time to get creative with sprinkles and piping. Sprinkle the sides of the cake with your favorite sprinkles, removing any large pieces for a smoother finish. Then, fill a piping bag with buttercream and pipe decorative swirls or patterns on top of the cake.
  6. Adding Final Touches: To finish off your Bluey cake, adorn it with Bluey-themed decorations like figurines or cake toppers. Strategically place them to cover any imperfections and add a playful touch to your creation.

Leave a Comment

Recipe rating