
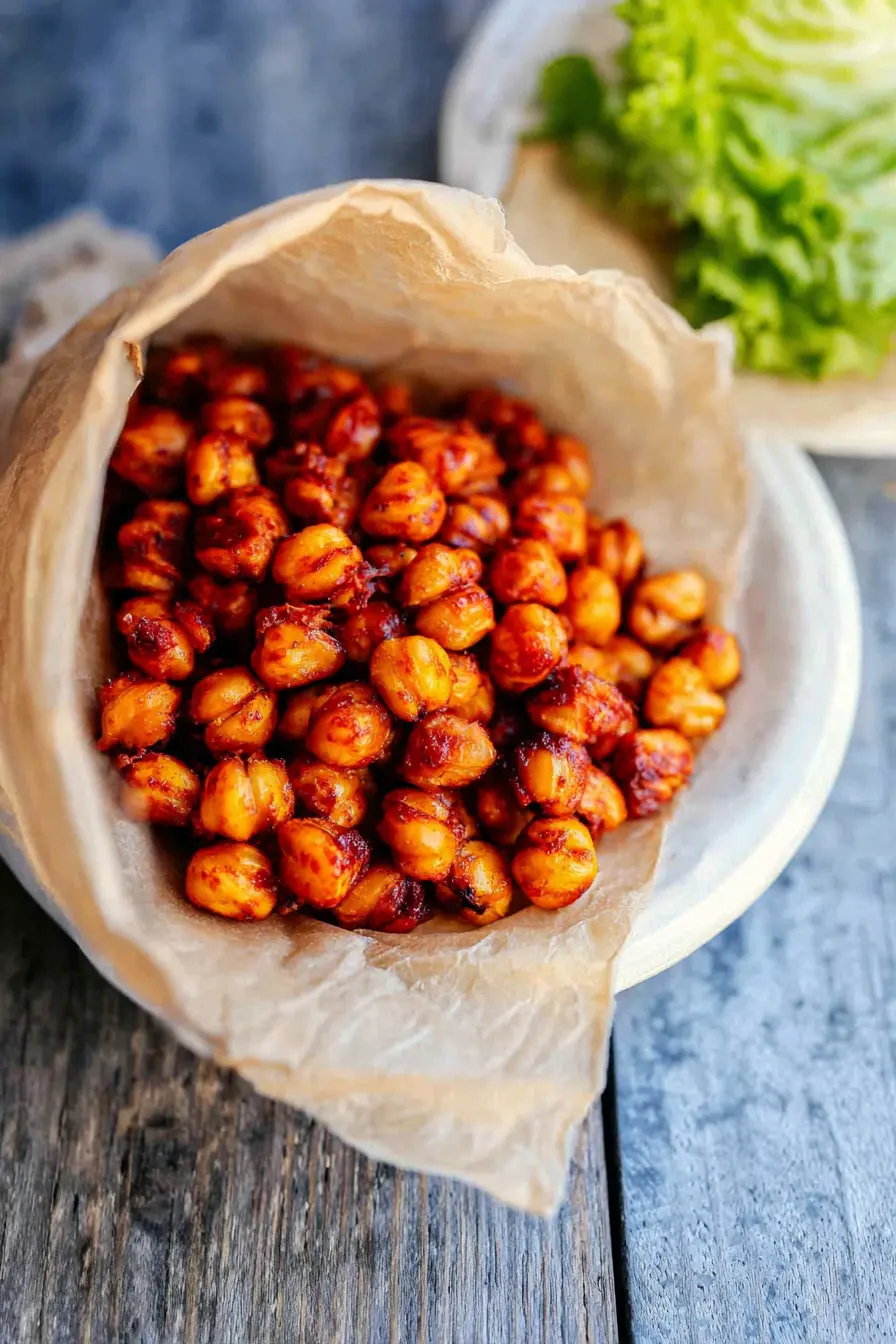
I’ve been making these Roasted BBQ Chickpeas for years, and they never fail to impress. What started as a simple snack experiment has turned into something I make regularly for parties, lunch boxes, and those moments when I need something crunchy and satisfying. The smoky BBQ flavor combined with the crispy texture creates a snack that’s both healthy and addictive.
The secret to getting chickpeas truly crispy lies in removing each individual skin – yes, it takes time, but I promise the results are worth every minute. Without this step, your chickpeas will end up chewy instead of crunchy. I learned this the hard way after several disappointing batches early on.
Table of Contents
Ingredients Needed for Roasted BBQ Chickpeas
- 15 oz. can chickpeas, drained and rinsed
- 1/2 tablespoon melted coconut oil
- 2 tablespoons BBQ sauce
How to Make Roasted BBQ Chickpeas
- Start by preheating your oven to 400°F if you have a convection roast setting, or 425°F for standard baking. The convection setting helps achieve better crispiness by circulating hot air around the chickpeas.
- Drain and rinse your canned chickpeas thoroughly under cold water. This removes the excess sodium and starchy liquid that can interfere with crisping.
- Spread the rinsed chickpeas on a clean, dry dish towel and gently pat them dry with another towel.
- Remove the skins by gently rubbing each chickpea between your fingers to loosen the skin, then peel it off. The skins should come away fairly easily once you get the hang of it. This process takes about 10 minutes, but you can do it while watching TV or listening to music.
- Once all the chickpeas are peeled, spread them out on a baking sheet in a single layer. Make sure they’re not touching each other – overcrowding leads to steaming instead of roasting.
- Place the baking sheet in the preheated oven and roast for 10 minutes.
- Remove the baking sheet and give it a gentle shake to prevent the chickpeas from sticking. The chickpeas should be starting to look slightly golden at this point.
- Drizzle the melted coconut oil over the chickpeas and toss them well using a spatula or your hands. Make sure every chickpea gets coated evenly – this oil layer is crucial for achieving that crispy exterior.
- Add the BBQ sauce and toss again until each chickpea is coated with the sauce. The chickpeas should look glossy and well-coated but not swimming in sauce.
- Return the baking sheet to the oven and roast for another 12 minutes. Halfway through this cooking time, remove the pan and toss the chickpeas again to ensure even browning.
- Once the timer goes off, turn off the oven but don’t remove the chickpeas yet. Open the oven door a few inches and let the chickpeas cool in the gradually cooling oven for at least 10 minutes. This final step helps them achieve maximum crispiness.
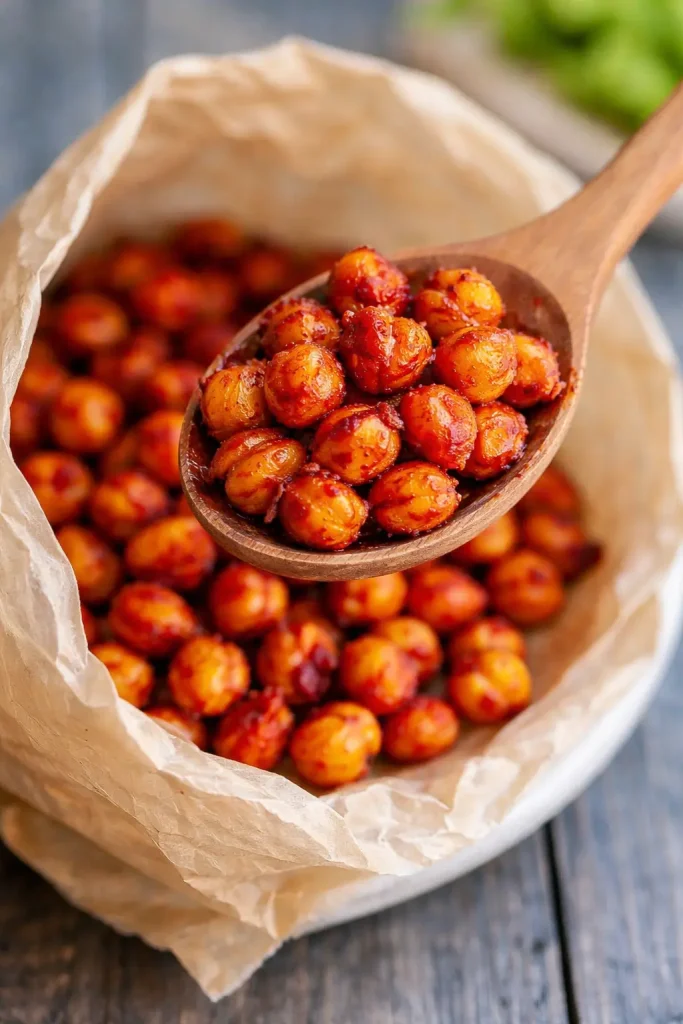
- After cooling, test one chickpea to make sure it has the right texture – it should crunch when you bite into it. Your chickpeas should be golden brown and crispy.
Creative Ways to Use BBQ Chickpeas
These crispy chickpeas work wonderfully sprinkled over salads for added protein and crunch. I especially enjoy them on Caesar salads where they replace traditional croutons. For grain bowls, I scatter them over quinoa or brown rice with roasted vegetables. They add texture and flavor while boosting the protein content of the meal.
During movie nights, I serve them in small bowls as a healthier alternative to popcorn. The BBQ flavor satisfies those salty, savory cravings without the guilt.
Helpful Tips for Perfect Roasted BBQ Chickpeas
- Don’t skip the skin removal – it’s essential for crispiness
- Pat chickpeas completely dry before roasting to prevent steaming
- Use a large baking sheet to avoid overcrowding
- Shake the pan during roasting to prevent sticking and ensure even browning
- Let them cool in the oven with the door slightly open for maximum crispiness
- Store in a paper bag rather than airtight containers to maintain crunch
- Make sure your BBQ sauce isn’t too thick – thin it with a little water if needed
Best Ways to Serve Roasted BBQ Chickpeas
I serve these chickpeas at room temperature as a party snack alongside other finger foods. They’re always a conversation starter because most people haven’t tried homemade roasted chickpeas before. For lunch, I pack them in small containers to eat alongside sandwiches or wraps. They provide that satisfying crunch that makes lunch more interesting.
During summer barbecues, I set them out in bowls as a healthy snack option. The BBQ flavor fits right in with the outdoor cooking theme.
Frequently Asked Questions About Roasted BBQ Chickpeas
How long do roasted chickpeas stay crispy? When stored properly in a paper bag, they’ll stay crispy for 2-3 days. Avoid airtight containers as they trap moisture and make the chickpeas soggy.
Can I use different BBQ sauces? Absolutely! I’ve tried various BBQ sauces with great results. Just avoid overly thick sauces that might burn during roasting.
Do I have to remove the skins? Yes, removing the skins is crucial for achieving crispiness. It’s time-consuming but makes all the difference in the final texture.
Can I make these in an air fryer? Yes, but you’ll need to adjust the time and temperature. Try 380°F for 15-20 minutes, shaking the basket every 5 minutes.
Why aren’t my chickpeas getting crispy? The most common reasons are not removing the skins, not drying them thoroughly, or overcrowding the baking sheet. Make sure you follow each step carefully.
Can I freeze roasted chickpeas? I don’t recommend freezing as it affects the texture. They’re best enjoyed fresh or stored at room temperature for a few days.
Print
Roasted BBQ Chickpeas
- Total Time: 45 minute
- Yield: 4 servings 1x
- Diet: Vegan
Ingredients
- 15 oz. can chickpeas, drained and rinsed
- 1/2 tablespoon melted coconut oil
- 2 tablespoons BBQ sauce
Instructions
- Start by preheating your oven to 400°F if you have a convection roast setting, or 425°F for standard baking. The convection setting helps achieve better crispiness by circulating hot air around the chickpeas.
- Drain and rinse your canned chickpeas thoroughly under cold water. This removes the excess sodium and starchy liquid that can interfere with crisping.
- Spread the rinsed chickpeas on a clean, dry dish towel and gently pat them dry with another towel.
- Remove the skins by gently rubbing each chickpea between your fingers to loosen the skin, then peel it off. The skins should come away fairly easily once you get the hang of it. This process takes about 10 minutes, but you can do it while watching TV or listening to music.
- Once all the chickpeas are peeled, spread them out on a baking sheet in a single layer. Make sure they’re not touching each other – overcrowding leads to steaming instead of roasting.
- Place the baking sheet in the preheated oven and roast for 10 minutes.
- Remove the baking sheet and give it a gentle shake to prevent the chickpeas from sticking. The chickpeas should be starting to look slightly golden at this point.
- Drizzle the melted coconut oil over the chickpeas and toss them well using a spatula or your hands. Make sure every chickpea gets coated evenly – this oil layer is crucial for achieving that crispy exterior.
- Add the BBQ sauce and toss again until each chickpea is coated with the sauce. The chickpeas should look glossy and well-coated but not swimming in sauce.
- Return the baking sheet to the oven and roast for another 12 minutes. Halfway through this cooking time, remove the pan and toss the chickpeas again to ensure even browning.
- Once the timer goes off, turn off the oven but don’t remove the chickpeas yet. Open the oven door a few inches and let the chickpeas cool in the gradually cooling oven for at least 10 minutes. This final step helps them achieve maximum crispiness.
- After cooling, test one chickpea to make sure it has the right texture – it should crunch when you bite into it. Your chickpeas should be golden brown and crispy.
Notes
- Don’t skip the skin removal – it’s essential for crispiness
- Pat chickpeas completely dry before roasting to prevent steaming
- Use a large baking sheet to avoid overcrowding
- Shake the pan during roasting to prevent sticking and ensure even browning
- Let them cool in the oven with the door slightly open for maximum crispiness
- Store in a paper bag rather than airtight containers to maintain crunch
- Make sure your BBQ sauce isn’t too thick – thin it with a little water if needed
- Prep Time: 10 minutes
- Cook Time: 35 minutes
- Category: Snack
- Method: Roasting
- Cuisine: American
Nutrition
- Serving Size: 1/4 of recipe
- Calories: 160 kcal
- Sugar: 3g
- Sodium: 280mg
- Fat: 5g
- Saturated Fat: 0.5g
- Unsaturated Fat: 4g
- Trans Fat: 0g
- Carbohydrates: 20g
- Fiber: 6g
- Protein: 7g
- Cholesterol: 0mg