
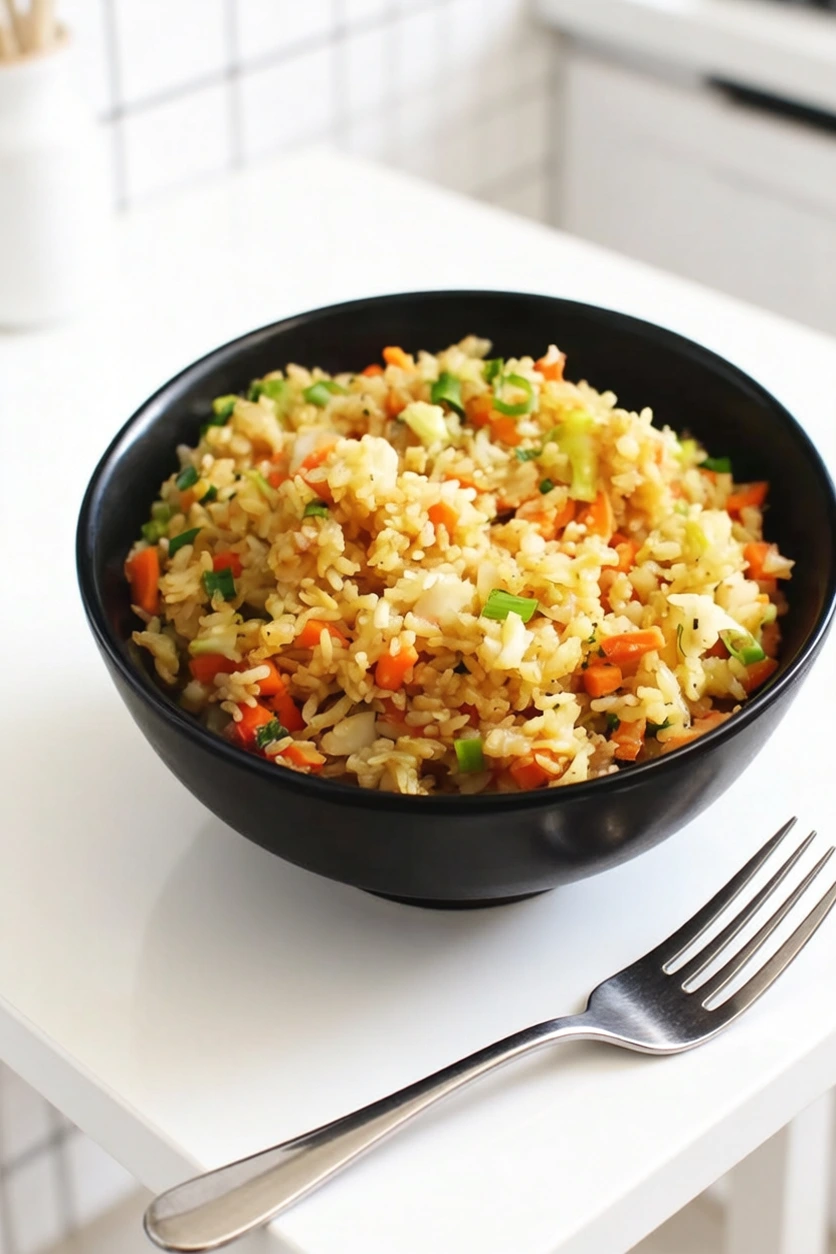
Low carb cauliflower fried rice became a regular in my kitchen a couple of years ago when I was trying to cut back on white rice without giving up the dish entirely. I was skeptical at first, honestly. Cauliflower standing in for rice sounds like a compromise, but done right it genuinely works. The key is high heat and not overcrowding the pan, which is the same thing that makes regular fried rice good.
This version comes together in under 20 minutes, uses one pan, and keeps things simple: riced cauliflower, egg, garlic, green onion, soy sauce, and a finishing drizzle of sesame oil. The carrot is optional but adds a little sweetness and color. It works as a side dish alongside grilled chicken or shrimp, but it’s also filling enough to eat on its own. If you’ve tried cauliflower fried rice before and been underwhelmed, it was probably a texture issue. A few small adjustments make all the difference.
Ingredients
- 2 tablespoons butter, ghee, coconut oil, or olive oil
- 1/4 cup carrot, finely diced (optional)
- 1 ounce green onion (about 2 large or 4 small stalks), sliced, white and green parts separated
- 2 cloves garlic, crushed or minced
- 12 ounces riced cauliflower, fresh or frozen (thawed and patted dry if frozen)
- 1 large egg, beaten
- 2 tablespoons gluten-free soy sauce or tamari, plus more to taste
- 1 teaspoon toasted sesame oil
Preparing Your Low Carb Cauliflower Fried Rice
- Dry the cauliflower rice. If you’re using frozen riced cauliflower, thaw it completely and press it between a few layers of paper towels or a clean kitchen towel to remove as much moisture as possible. This is the most important step for getting a good texture rather than a soggy result.
- Heat the pan. Place a large skillet or wok over medium-high heat. Add the butter (or your oil of choice) and let it melt and heat until shimmering, about 1 minute. You want the pan genuinely hot before anything goes in.
- Cook the carrot and white parts of the green onion. Add the diced carrot and the white parts of the sliced green onion to the hot pan. Cook, stirring occasionally, for 2 to 3 minutes until slightly softened.
- Add the garlic. Stir in the crushed garlic and cook for 30 seconds until fragrant. Keep it moving so it doesn’t burn.
- Add the cauliflower rice. Spread the riced cauliflower in an even layer across the pan. Let it sit undisturbed for 1 to 2 minutes to develop some color on the bottom, then stir and repeat. Cook for a total of 5 to 6 minutes until the cauliflower is tender and lightly golden in spots.
- Push everything to the side and scramble the egg. Clear a space in the center of the pan and pour in the beaten egg. Let it sit for about 15 seconds, then scramble it with a spatula until just set. Fold the egg into the cauliflower mixture before it fully firms up.
- Add the soy sauce. Drizzle the soy sauce or tamari over the pan and toss everything together to coat evenly. Taste and add more soy sauce if you want a stronger savory flavor.
- Finish with sesame oil and green onion tops. Remove the pan from heat. Drizzle the toasted sesame oil over the top and scatter the green parts of the green onion. Toss once more and serve immediately.
Why Moisture Is the Whole Battle
The number one reason cauliflower fried rice turns out watery and soft instead of light and slightly crispy is excess moisture in the cauliflower. Fresh riced cauliflower has less of this issue than frozen, but both benefit from being as dry as possible before they hit the pan.
For frozen cauliflower rice, spread it on a clean towel after thawing and press firmly. For fresh, you can skip ahead if it looks and feels dry to the touch. Either way, don’t add it to a pan that hasn’t fully preheated. Cold pan plus wet cauliflower equals steam, not fry.
A wide skillet or wok helps a lot here too. If the pan is too small, the cauliflower steams in its own moisture rather than browning. Spread it out as much as possible and be patient between stirs.
Making It a Full Meal
As written, this cauliflower fried rice is a side dish or a light lunch. To turn it into a more complete meal, add protein directly to the pan. Shrimp cook fast and pair naturally with the sesame-soy base. Diced chicken thighs, thinly sliced beef, or even leftover rotisserie chicken all work well.
Add raw protein after the garlic and before the cauliflower, so it has time to cook through. If you’re using pre-cooked protein like leftover chicken, add it at the same time as the cauliflower and let it warm through together.
For a vegetarian version, add a second egg or toss in some edamame or diced firm tofu. Both options add protein without changing the character of the dish much.
Flavor Variations Worth Trying
The base recipe is intentionally simple so it works as a blank canvas. A small squeeze of sriracha or a pinch of red pepper flakes added with the soy sauce gives you a spicy version that’s really satisfying. A teaspoon of oyster sauce or fish sauce added alongside the soy sauce adds extra depth if you’re not keeping it gluten-free or vegetarian.
Frozen peas are a classic fried rice addition that works just as well here. Toss them in with the cauliflower at step five since they thaw and cook quickly. A small handful of bean sprouts added at the very end keeps them crunchy and adds a nice textural contrast.
If you want a richer dish, swap the butter for ghee. It has a higher smoke point and a slightly nutty flavor that pairs especially well with the sesame oil finish.
Notes
- Fresh vs. frozen cauliflower rice: Fresh gives slightly better texture. Frozen is more convenient and still works well as long as it’s properly dried before cooking.
- Oil choice matters: Butter adds flavor and browns nicely. Coconut oil is neutral and handles high heat well. Olive oil works but has a lower smoke point, so watch the heat level. Ghee is the best of all worlds if you have it.
- Soy sauce vs. tamari: Tamari is gluten-free and slightly less salty. Both work. Coconut aminos are a lower-sodium, soy-free alternative if needed.
- Make-ahead: Riced cauliflower can be prepped and stored in the fridge for up to 2 days. The full dish is best eaten fresh but keeps in the fridge for 3 days. Reheat in a hot skillet rather than the microwave for better texture.
- Scaling: This recipe doubles easily. Use the largest pan you have, or cook in two batches, to avoid overcrowding.
- Equipment: A large wok or a 12-inch skillet gives you the best results. Cast iron or carbon steel holds heat well and encourages browning.
Common Questions
Why does my cauliflower fried rice turn out mushy?
Almost always, it’s too much moisture in the cauliflower or a pan that isn’t hot enough. Make sure frozen cauliflower is fully thawed and squeezed dry, and preheat your skillet properly before anything goes in. Cooking over medium-high rather than medium heat also helps a lot.
Can I make this ahead of time?
It’s best fresh off the pan, but it does keep. Store leftovers in an airtight container in the fridge for up to 3 days. Reheat in a hot skillet with a tiny bit of oil to bring back some of the texture. The microwave makes it soft, so the stovetop is worth the extra minute.
What protein goes best with this dish?
Shrimp, chicken, and beef all work well. Shrimp is probably the most classic pairing with a soy-sesame base. Cook raw protein in the pan before the vegetables, set it aside, then add it back in at the end to avoid overcooking.
Can I use pre-riced cauliflower from the store?
Yes, and it saves a lot of time. Most grocery stores carry it fresh in the produce section and frozen in bags. Both work in this recipe. Just check the frozen version for any added ingredients or seasoning, since some flavored versions won’t work here.
Is this recipe keto-friendly?
Yes. The full dish as written is low in carbohydrates and fits a keto eating pattern. The carrot adds a small amount of carbs and can be skipped if you’re tracking strictly. Coconut aminos can replace soy sauce to reduce sodium if that’s a concern.
Print
Low Carb Cauliflower Fried Rice
- Total Time: 25 minutes
- Yield: 4 servings 1x
Ingredients
- 2 tablespoons butter, ghee, coconut oil, or olive oil
- 1/4 cup carrot, finely diced (optional)
- 1 ounce green onion (about 2 large or 4 small stalks), sliced, white and green parts separated
- 2 cloves garlic, crushed or minced
- 12 ounces riced cauliflower, fresh or frozen (thawed and patted dry if frozen)
- 1 large egg, beaten
- 2 tablespoons gluten-free soy sauce or tamari, plus more to taste
- 1 teaspoon toasted sesame oil
Instructions
- Dry the cauliflower rice. If you’re using frozen riced cauliflower, thaw it completely and press it between a few layers of paper towels or a clean kitchen towel to remove as much moisture as possible. This is the most important step for getting a good texture rather than a soggy result.
- Heat the pan. Place a large skillet or wok over medium-high heat. Add the butter (or your oil of choice) and let it melt and heat until shimmering, about 1 minute. You want the pan genuinely hot before anything goes in.
- Cook the carrot and white parts of the green onion. Add the diced carrot and the white parts of the sliced green onion to the hot pan. Cook, stirring occasionally, for 2 to 3 minutes until slightly softened.
- Add the garlic. Stir in the crushed garlic and cook for 30 seconds until fragrant. Keep it moving so it doesn’t burn.
- Add the cauliflower rice. Spread the riced cauliflower in an even layer across the pan. Let it sit undisturbed for 1 to 2 minutes to develop some color on the bottom, then stir and repeat. Cook for a total of 5 to 6 minutes until the cauliflower is tender and lightly golden in spots.
- Push everything to the side and scramble the egg. Clear a space in the center of the pan and pour in the beaten egg. Let it sit for about 15 seconds, then scramble it with a spatula until just set. Fold the egg into the cauliflower mixture before it fully firms up.
- Add the soy sauce. Drizzle the soy sauce or tamari over the pan and toss everything together to coat evenly. Taste and add more soy sauce if you want a stronger savory flavor.
- Finish with sesame oil and green onion tops. Remove the pan from heat. Drizzle the toasted sesame oil over the top and scatter the green parts of the green onion. Toss once more and serve immediately.
Notes
- Fresh vs. frozen cauliflower rice: Fresh gives slightly better texture. Frozen is more convenient and still works well as long as it’s properly dried before cooking.
- Oil choice matters: Butter adds flavor and browns nicely. Coconut oil is neutral and handles high heat well. Olive oil works but has a lower smoke point, so watch the heat level. Ghee is the best of all worlds if you have it.
- Soy sauce vs. tamari: Tamari is gluten-free and slightly less salty. Both work. Coconut aminos are a lower-sodium, soy-free alternative if needed.
- Make-ahead: Riced cauliflower can be prepped and stored in the fridge for up to 2 days. The full dish is best eaten fresh but keeps in the fridge for 3 days. Reheat in a hot skillet rather than the microwave for better texture.
- Scaling: This recipe doubles easily. Use the largest pan you have, or cook in two batches, to avoid overcrowding.
- Equipment: A large wok or a 12-inch skillet gives you the best results. Cast iron or carbon steel holds heat well and encourages browning.
- Prep Time: 10 minutes
- Cook Time: 15 minutes
- Category: Main Course
- Method: Stir-Fry
- Cuisine: Asian-inspired
Nutrition
- Serving Size: 1 cup
- Calories: 180 kcal
- Sugar: 3 g
- Sodium: 480 mg
- Fat: 12 g
- Saturated Fat: 3 g
- Unsaturated Fat: 8 g
- Trans Fat: 0 g
- Carbohydrates: 8 g
- Fiber: 3 g
- Protein: 10 g
- Cholesterol: 110 mg