
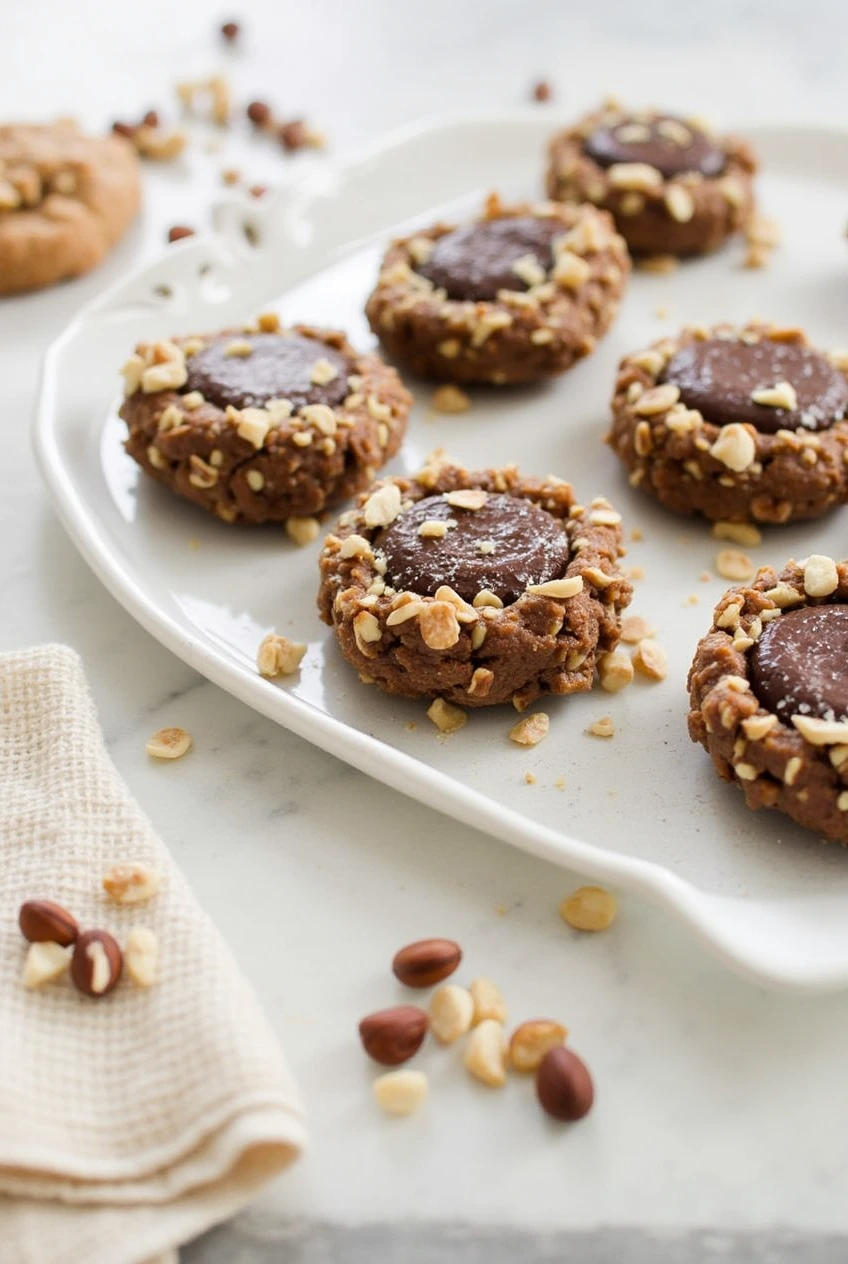
I absolutely love creating these Chocolate Hazelnut Thumbprint Cookies for friends and family! There’s something magical about the combination of rich chocolate cookie dough, crunchy hazelnuts, and that perfect dollop of chocolate hazelnut spread in the center. If you’ve tried my Pumpkin Whoopie Pies before, you’ll notice I have a thing for filled cookies that deliver multiple textures and flavors in one bite!
Why You’ll Love These Chocolate Hazelnut Thumbprint Cookies
My friends always ask for the recipe when I bring these to gatherings! The deep chocolate flavor paired with toasted hazelnuts creates an irresistible combination that’s perfect for chocolate lovers. They look impressive but are actually quite simple to make. The contrast between the crunchy exterior and the smooth, creamy filling makes each bite a delightful experience.
Recipe Ingredients
- 2/3 cup (165 g) unsalted butter, softened
- 2/3 cup (140 g) caster sugar
- 1 1/2 tsp vanilla extract
- 2 egg yolks
- 2/3 cup (133 g) dark chocolate, melted
- 1 1/4 cups (187 g) all-purpose flour, sifted
- 1/3 cup (30 g) cocoa powder, sifted
- 1/4 tsp salt
- 1 cup (125 g) hazelnuts, toasted and finely chopped
- 1/2 cup (150 g) chocolate hazelnut spread
How To Make Chocolate Hazelnut Thumbprint Cookies
- Whisk together the flour and cocoa powder in a medium mixing bowl.
- In a large bowl, beat the butter and sugar on high speed for 2 minutes until light and fluffy.
- Add the vanilla, egg yolks, and melted chocolate to the butter mixture and mix until well combined.
- Add the dry ingredients to the wet ingredients and use a spatula to mix until a dough forms.
- Use an ice cream scoop to portion the dough into approximately 1 1/2 tablespoon balls.
- Roll each portion into a ball and coat in the crushed hazelnuts.
- Refrigerate the coated dough balls for 2 hours.
- Preheat your oven to 320°F (160°C) with fan or 340°F (170°C) without fan.
- Line two baking trays with parchment paper.
- Arrange the chilled cookies across the two trays, leaving space between each.
- Bake one tray at a time on the middle rack for 8 minutes.
- Allow the cookies to cool completely after baking.
- Once cooled, use a measuring tablespoon to create an indent in the center of each cookie.
- Use a round cookie cutter slightly larger than each cookie to reshape them into perfect circles.
- Fill the center of each cookie with chocolate hazelnut spread using spoons or a piping bag.
- Let the cookies set completely before serving.
Expert Tips
- Toast the hazelnuts before chopping to enhance their flavor – I spread them on a baking sheet and toast at 350°F for about 8-10 minutes until fragrant.
- The chocolate hazelnut spread becomes more manageable for filling if you warm it slightly.
- Don’t skip the chilling time! This helps the cookies maintain their shape while baking.
- When creating the thumbprint, press gently to avoid cracking the cookie.
- For cleaner filling, use a piping bag with a round tip rather than spoons.
- Make sure your butter is truly softened for the best texture in your Chocolate Hazelnut Thumbprint Cookies.
Recipe Variations & Possible Substitutions
I’m always experimenting with my Chocolate Hazelnut Thumbprint Cookies! Try swapping the hazelnuts for almonds or pistachios for a different flavor profile. You could also fill these with jam, caramel, or ganache instead of chocolate hazelnut spread. For a holiday twist, add a quarter teaspoon of cinnamon or peppermint extract to the cookie dough. If you’re gluten-sensitive, I’ve successfully used a 1:1 gluten-free flour blend in place of all-purpose flour.
Serving and Pairing Suggestions
I love serving these Chocolate Hazelnut Thumbprint Cookies slightly chilled to keep the filling firm. They pair wonderfully with coffee, especially espresso, which complements the chocolate and hazelnut flavors. For dessert, serve with a scoop of vanilla ice cream on the side. If you’re feeling indulgent, drizzle some warm chocolate sauce over the top just before serving.
Storage and Reheating Tips
Store your cookies in an airtight container at room temperature for up to 3 days or in the refrigerator for up to a week. For longer storage, these cookies freeze beautifully! Place them in a single layer in a freezer-safe container with parchment between layers and freeze for up to 3 months. Let them thaw at room temperature before serving. No reheating is necessary, but if you want that fresh-baked feel, warm them for about 5 seconds in the microwave.
Recipe FAQs
Can I make the dough ahead of time? Yes! I often make the dough up to 3 days ahead and keep it refrigerated until ready to bake.
Why did my cookies spread too much? This usually happens if your dough wasn’t chilled enough or if your oven temperature was too low.
Can I use natural cocoa powder instead of Dutch-processed? I’ve tried both, and while Dutch-processed gives a deeper color and smoother flavor, natural cocoa powder works fine too.
How do I know when the cookies are done? The cookies will be set around the edges but still slightly soft in the center. They’ll firm up as they cool.
Can I make these without nuts? Absolutely! You can roll them in chocolate sprinkles or just leave them plain.
Troubleshooting Tips
If your Chocolate Hazelnut Thumbprint Cookies crack when making the indentation, try making the indent while the cookies are still slightly warm from the oven. If your hazelnut spread is too runny, refrigerate it for 15-20 minutes before filling the cookies. Finding the dough too sticky? Add an extra tablespoon of flour or chill it briefly before rolling into balls. If your cookies are too hard, you likely overbaked them try reducing the baking time by a minute next time.
Print
Chocolate Hazelnut Thumbprint Cookies
- Total Time: 47 minutes
- Yield: 12 cookies 1x
- Diet: Vegetarian
Ingredients
- 2/3 cup (165 g) unsalted butter, softened
- 2/3 cup (140 g) caster sugar
- 1 1/2 tsp vanilla extract
- 2 egg yolks
- 2/3 cup (133 g) dark chocolate, melted
- 1 1/4 cups (187 g) all-purpose flour, sifted
- 1/3 cup (30 g) cocoa powder, sifted
- 1/4 tsp salt
- 1 cup (125 g) hazelnuts, toasted and finely chopped
- 1/2 cup (150 g) chocolate hazelnut spread
Instructions
- Whisk together the flour and cocoa powder in a medium mixing bowl.
- In a large bowl, beat the butter and sugar on high speed for 2 minutes until light and fluffy.
- Add the vanilla, egg yolks, and melted chocolate to the butter mixture and mix until well combined.
- Add the dry ingredients to the wet ingredients and use a spatula to mix until a dough forms.
- Use an ice cream scoop to portion the dough into approximately 1 1/2 tablespoon balls.
- Roll each portion into a ball and coat in the crushed hazelnuts.
- Refrigerate the coated dough balls for 2 hours.
- Preheat your oven to 320°F (160°C) with fan or 340°F (170°C) without fan.
- Line two baking trays with parchment paper.
- Arrange the chilled cookies across the two trays, leaving space between each.
- Bake one tray at a time on the middle rack for 8 minutes.
- Allow the cookies to cool completely after baking.
- Once cooled, use a measuring tablespoon to create an indent in the center of each cookie.
- Use a round cookie cutter slightly larger than each cookie to reshape them into perfect circles.
- Fill the center of each cookie with chocolate hazelnut spread using spoons or a piping bag.
- Let the cookies set completely before serving.
Notes
- Toast the hazelnuts before chopping to enhance their flavor – I spread them on a baking sheet and toast at 350°F for about 8-10 minutes until fragrant.
- The chocolate hazelnut spread becomes more manageable for filling if you warm it slightly.
- Don’t skip the chilling time! This helps the cookies maintain their shape while baking.
- When creating the thumbprint, press gently to avoid cracking the cookie.
- For cleaner filling, use a piping bag with a round tip rather than spoons.
- Make sure your butter is truly softened for the best texture in your Chocolate Hazelnut Thumbprint Cookies.
- Prep Time: 15 minutes
- Chill Time: 20 minutes
- Cook Time: 12 minutes
- Category: Dessert
- Method: Baking
- Cuisine: American
Nutrition
- Serving Size: 1 cookie
- Calories: 228.5 kcal
- Sugar: 9.41 g
- Sodium: 54.73 mg
- Fat: 14.53 g
- Saturated Fat: 6.59 g
- Unsaturated Fat: 7.94 g
- Trans Fat: 0 g
- Carbohydrates: 21.69 g
- Fiber: 1.18 g
- Protein: 3.07 g
- Cholesterol: 27.35 mg