
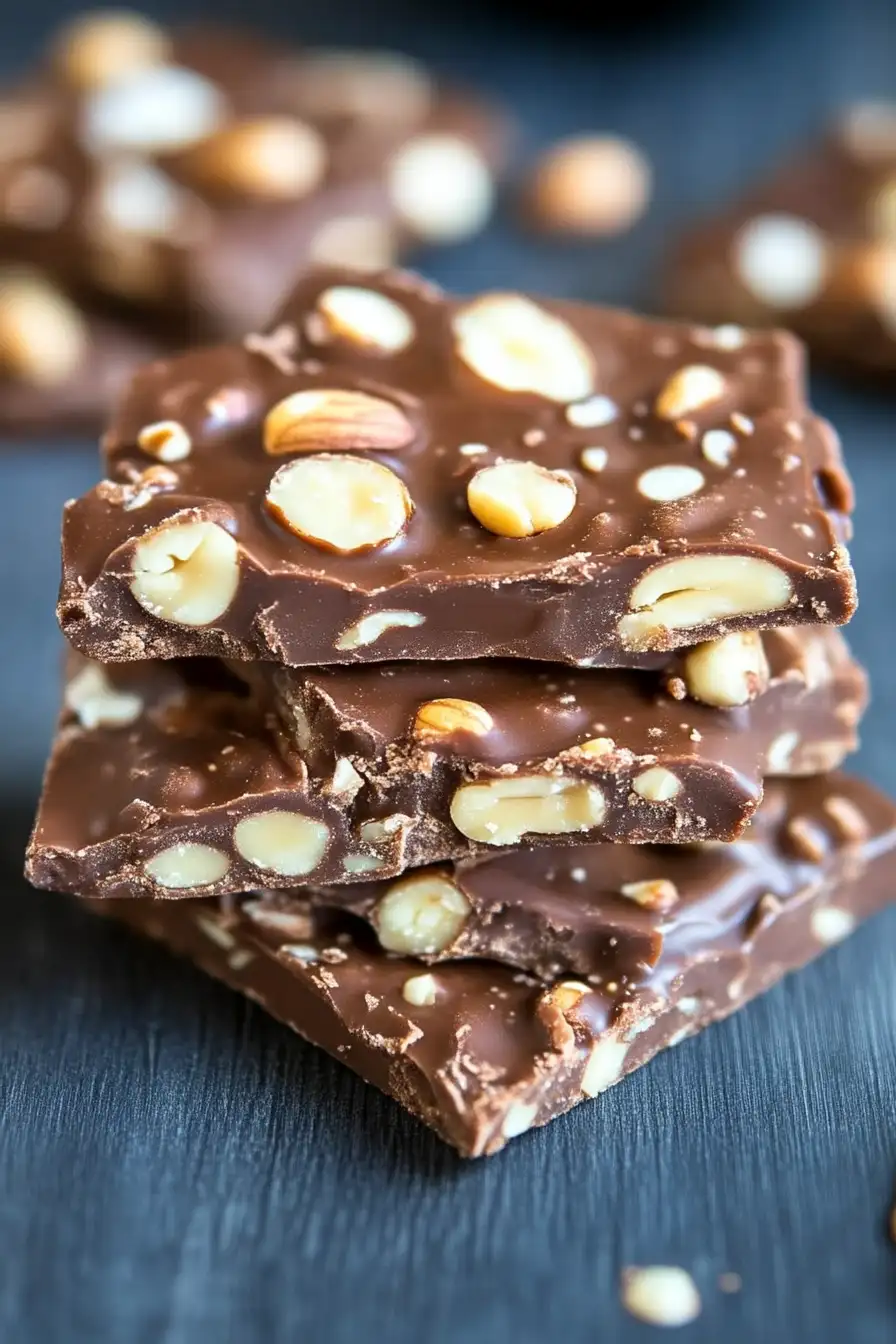
I’ll be honest with you, making candy at home used to intimidate me. But once I tried my hand at this Chocolate Peanut Butter Peanut Brittle, everything changed. This recipe combines the classic crunch of traditional brittle with rich chocolate and creamy peanut butter, creating something truly special. It’s become a staple in my kitchen, especially during the holidays when I need gifts that look impressive but won’t drain my energy or my wallet.
What I love most about this treat is how it walks the line between sophisticated and nostalgic. The roasted peanuts give you that satisfying crunch, while the chocolate and peanut butter add layers of flavor that keep you reaching for just one more piece. I’ve made this for family gatherings, given it as gifts, and kept batches hidden in my pantry for those moments when only something sweet and crunchy will do.
Why This Chocolate Peanut Butter Brittle Works
The magic here is in the technique. Unlike some candy recipes that require fancy equipment or years of experience, this brittle comes together with basic kitchen tools and a watchful eye. The combination of chocolate and peanut butter isn’t just delicious, it actually makes the brittle slightly less prone to that teeth-breaking hardness some traditional brittles have. You still get a satisfying snap when you bite into it, but it won’t send you running to the dentist.
I’ve found that this recipe is forgiving in ways other candy recipes aren’t. The peanut butter helps stabilize everything, and the baking soda creates those wonderful little air pockets that make each piece lighter and easier to eat. It’s candy-making without the stress.
What You’ll Need to Make This Brittle
Equipment
- Large heavy-bottomed saucepan
- Candy thermometer
- Cookie sheet
- Wooden spoon or heat-resistant spatula
- Measuring cups and spoons
- Butter for greasing
Ingredients
- 1 cup granulated sugar
- ½ cup light corn syrup
- 1 ¼ cups roasted peanuts
- ¼ cup unsweetened baking cocoa
- 1 ½ teaspoons baking soda
- 1 cup smooth peanut butter
- 1 tablespoon butter
- ¼ cup whipping cream
How I Make This Brittle Every Time
- Start by lightly buttering your cookie sheet. Set it somewhere you can easily reach it, you’ll need to work fast later, and you don’t want to be scrambling around your kitchen looking for it.
- Put the sugar and corn syrup in your large saucepan. Crank the heat up to high and bring everything to a rolling boil. Watch it carefully because sugar can go from just right to burnt in seconds.
- Toss in the roasted peanuts and turn the heat down to medium. Now comes the arm workout, stir constantly. I know it seems tedious, but this stirring prevents burning and ensures even cooking.
- Keep stirring until your candy thermometer reads 300°F. This is called the hard-crack stage, and it’s crucial. Too low and your brittle will be chewy; too high and it’ll taste burnt. Once you hit that temperature, pull the pan off the heat immediately.
- Here’s where you need to move quickly. Add the cocoa powder, peanut butter, butter, and whipping cream. Stir like your life depends on it until everything combines into a smooth, glossy mixture.
- Add the baking soda and keep stirring. You’ll see the mixture foam up and become lighter in color. This is exactly what you want, those bubbles will make your brittle easier to bite.
- Pour the entire mixture onto your prepared cookie sheet. Use your spatula to spread it out to about ¼-inch thickness. Don’t worry about making it absolutely even, rustic is part of the charm.
- Let it cool completely. This takes about 2 hours, though I know waiting is tough. Once it’s cool, break it into large, irregular pieces. I like using my hands for this part because it feels satisfying, but you can also use the edge of a wooden spoon.
- Store your brittle in an airtight container. It’ll keep for several weeks, though I’ve never had a batch last that long in my house.

Tips for Success
- Use a candy thermometer you trust. I learned this the hard way after making three batches of sticky, chewy “brittle” with a faulty thermometer.
- Have all your ingredients measured and ready before you start cooking. Once that sugar hits 300°F, you need to move fast.
- Don’t skip the butter on the cookie sheet. I tried using parchment paper once, and the brittle stuck so badly I nearly lost the whole batch.
- If you prefer a less sweet brittle, you can use dark cocoa powder instead of regular unsweetened cocoa.
- Room temperature peanut butter incorporates more easily than cold peanut butter straight from the fridge.
This brittle stands out among all those standard cookies. The best part is that people always think it took way more effort than it actually did.
Frequently Asked Questions
Can I use crunchy peanut butter instead of smooth?
I’ve tried both, and honestly, smooth peanut butter works better for this recipe. The crunchy version adds too many peanut pieces, which makes the texture a bit overwhelming since you already have whole roasted peanuts in there. Smooth peanut butter also blends more evenly into the hot sugar mixture, giving you a consistent flavor throughout. If you really love extra crunch, stick with smooth peanut butter but add an extra ¼ cup of roasted peanuts instead.
Why did my brittle turn out sticky instead of crunchy?
This happened to me once, and it’s almost always a temperature issue. If you don’t get the mixture up to 300°F (the hard-crack stage), the sugar won’t set properly and you’ll end up with sticky, chewy candy instead of brittle. Make sure your candy thermometer is accurate, you can test it by putting it in boiling water, which should read 212°F at sea level. Also, humidity can affect candy-making, so avoid making this on really rainy or humid days if possible.
How long does this brittle stay fresh?
When I store mine in an airtight container at room temperature, it stays crunchy and delicious for about 2-3 weeks. The key word here is airtight, if moisture gets in, your brittle will start to get sticky and lose that satisfying snap. I use a large plastic container with a tight-fitting lid, and I sometimes toss in a small food-safe silica packet (the kind that comes in vitamin bottles) to absorb any extra moisture. Don’t refrigerate it though, because that can actually make it sticky.
Can I make this without a candy thermometer?
I really don’t recommend it. I tried the old cold-water test method once (where you drop a bit of the mixture into cold water to check the stage), and my results were inconsistent. Candy thermometers are inexpensive and take all the guesswork out of the process. That said, if you absolutely must skip it, you’re looking for the mixture to turn a deep amber color and for a small amount dropped into ice water to form hard, brittle threads that snap easily. But seriously, just get a thermometer, it’ll save you from wasted ingredients and frustration.
Print
Chocolate Peanut Butter Peanut Brittle
- Total Time: 30 minutes
- Yield: 20 pieces 1x
- Diet: Vegetarian
Ingredients
- 1 cup granulated sugar
- ½ cup light corn syrup
- 1 ¼ cups roasted peanuts
- ¼ cup unsweetened baking cocoa
- 1 ½ teaspoons baking soda
- 1 cup smooth peanut butter
- 1 tablespoon butter
- ¼ cup whipping cream
Instructions
- Start by lightly buttering your cookie sheet. Set it somewhere you can easily reach it, you’ll need to work fast later, and you don’t want to be scrambling around your kitchen looking for it.
- Put the sugar and corn syrup in your large saucepan. Crank the heat up to high and bring everything to a rolling boil. Watch it carefully because sugar can go from just right to burnt in seconds.
- Toss in the roasted peanuts and turn the heat down to medium. Now comes the arm workout, stir constantly. I know it seems tedious, but this stirring prevents burning and ensures even cooking.
- Keep stirring until your candy thermometer reads 300°F. This is called the hard-crack stage, and it’s crucial. Too low and your brittle will be chewy; too high and it’ll taste burnt. Once you hit that temperature, pull the pan off the heat immediately.
- Here’s where you need to move quickly. Add the cocoa powder, peanut butter, butter, and whipping cream. Stir like your life depends on it until everything combines into a smooth, glossy mixture.
- Add the baking soda and keep stirring. You’ll see the mixture foam up and become lighter in color. This is exactly what you want, those bubbles will make your brittle easier to bite.
- Pour the entire mixture onto your prepared cookie sheet. Use your spatula to spread it out to about ¼-inch thickness. Don’t worry about making it absolutely even, rustic is part of the charm.
- Let it cool completely. This takes about 2 hours, though I know waiting is tough. Once it’s cool, break it into large, irregular pieces. I like using my hands for this part because it feels satisfying, but you can also use the edge of a wooden spoon.
- Store your brittle in an airtight container. It’ll keep for several weeks, though I’ve never had a batch last that long in my house.
Notes
- Use a candy thermometer you trust. I learned this the hard way after making three batches of sticky, chewy “brittle” with a faulty thermometer.
- Have all your ingredients measured and ready before you start cooking. Once that sugar hits 300°F, you need to move fast.
- Don’t skip the butter on the cookie sheet. I tried using parchment paper once, and the brittle stuck so badly I nearly lost the whole batch.
- If you prefer a less sweet brittle, you can use dark cocoa powder instead of regular unsweetened cocoa.
- Room temperature peanut butter incorporates more easily than cold peanut butter straight from the fridge.
- Prep Time: 10 minutes
- Cook Time: 20 minutes
- Category: Candy
- Method: Stovetop
- Cuisine: American
Nutrition
- Serving Size: 1 piece
- Calories: 180 kcal
- Sugar: 15 g
- Sodium: 120 mg
- Fat: 11 g
- Saturated Fat: 4 g
- Unsaturated Fat: 6 g
- Trans Fat: 0 g
- Carbohydrates: 18 g
- Fiber: 2 g
- Protein: 5 g
- Cholesterol: 5 mg