
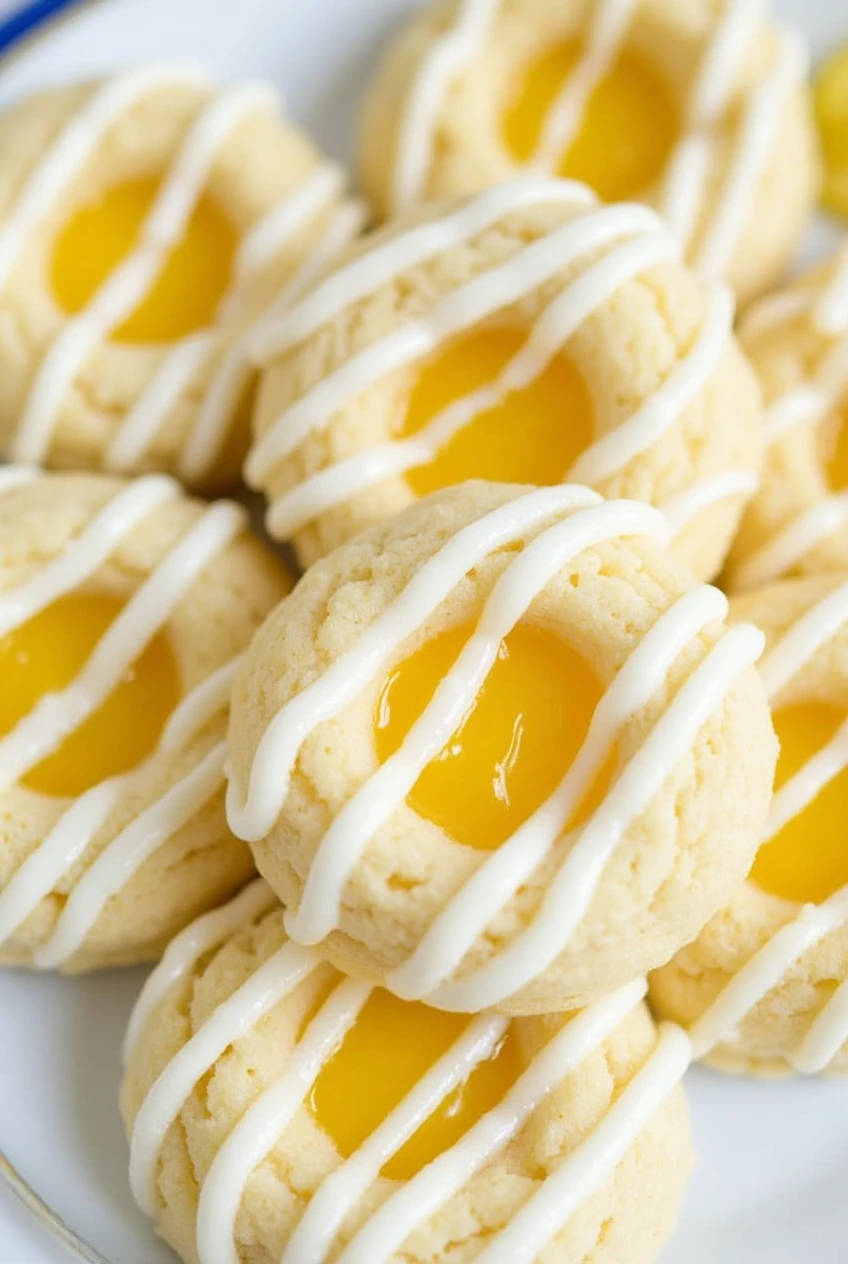
Lemon Thumbprint Cookies evoke the essence of summer with their buttery, melt-in-your-mouth texture and vibrant lemon curd filling. Each bite offers a delightful balance of sweet and tart flavors, reminiscent of a burst of sunshine. While thumbprint cookies are cherished for their simplicity, the addition of zesty lemon elevates them to a refreshing new level.
These Lemon Thumbprint Cookies are my go-to when I want a treat that’s equal parts refreshing and indulgent. They’re perfect for spring brunches, holiday cookie trays, or just brightening up a rainy afternoon.
Why You’ll Love These Lemon Thumbprint Cookies
First, they’re so easy to make. No fancy equipment or complicated steps just mix, chill, bake, and enjoy. The lemon flavor? It’s bold but balanced, thanks to the fresh zest, juice, and that tangy curd center. I love how the cookie itself isn’t overly sweet, letting the lemon shine. Plus, rolling the dough in sugar gives them a delicate crunch that’s downright addictive.
These Lemon Thumbprint Cookies are also incredibly versatile. Swap the curd for jam, adjust the citrus, or skip the icing if you’re in a hurry (though I never do it’s worth the extra step!).
Ingredients You’ll Need
For the Dough:
- 2 and 1/4 cups (281g) all-purpose flour
- 1 tablespoon (8g) cornstarch
- 1/4 teaspoon salt
- 14 tablespoons (200g) unsalted butter
- 3/4 cup (150g) granulated sugar
- 1 tablespoon fresh lemon zest
- 1 tablespoon fresh lemon juice
- 1 large egg
- 1 teaspoon vanilla bean paste (or vanilla extract)
For Coating & Filling:
- 1/2 cup (100g) granulated sugar
- 1/2 cup (140g) lemon curd
For the Icing:
- 1 cup (120g) confectioners’ sugar
- 2 tablespoons (30ml) fresh lemon juice
How To Make Lemon Thumbprint Cookies
1. Make the Dough
In a medium bowl, I whisk together the flour, cornstarch, and salt until they’re best friends. Set that aside. In a large bowl, I cream the butter and sugar with my mixer until it’s fluffy and pale about 1 minute. Then, I add the lemon zest, lemon juice, egg, and vanilla. At first, it’ll look a little curdled (don’t panic!), but once I mix in the dry ingredients, it smooths out beautifully.
2. Chill the Dough
This dough is soft, so I cover the bowl and refrigerate it for at least 3 hours (or up to 3 days). Chilling firms it up, making it easier to shape later.
3. Shape & Sugar-Coated Magic
After chilling, I line baking sheets with parchment. I scoop cold dough into 1-tablespoon balls, roll each in granulated sugar, and place them 2 inches apart. Then, I press my thumb (or the back of a teaspoon) into the center of each to make a little well.
4. Fill ‘Em Up
I spoon ½ teaspoon of lemon curd into each indentation. Pro tip: Don’t overfill the curd bubbles a bit while baking.
5. Bake to Perfection
I preheat the oven to 350°F (177°C) and pop the baking sheets back in the fridge while it heats. Cold dough = less spreading! Bake for 12–13 minutes until the edges are just golden. Let them cool on the sheet for 5 minutes, then transfer to a rack.
6. Drizzle the Icing
Once cool, I whisk the confectioners’ sugar and lemon juice into a thin glaze. Drizzle it over the cookies with a fork or squeeze bottle. Let it set for 30 minutes then dig in!
Expert Tips and Tricks
- Chill Like a Pro Cold dough is your BFF here. If it warms up while shaping, pop the baking sheet back in the fridge.
- Zest Smart Use a microplane to avoid bitter white pith.
- Curds & Jams Warm thick jams slightly for easier filling.
Recipe Variations & Possible Substitutions
- Gluten-Free Swap flour for a 1:1 GF blend.
- Citrus Swap Try lime zest/juice or orange for a twist.
- Jam It Up Raspberry, apricot, or strawberry jam work too! (Keep the lemon icing for zing.)
- Vegan Use plant-based butter, flax egg, and vegan curd.
Serving and Pairing Suggestions
These Lemon Thumbprint Cookies pair beautifully with herbal tea, iced lemonade, or a frothy cappuccino. For a dessert spread, serve alongside vanilla ice cream or a fruit platter. They’re also gorgeous stacked in a mason jar as a homemade gift!
Storage and Reheating Tips
Store in an airtight container at room temp for up to 1 week. Freeze unbaked dough balls (without filling) for 3 months thaw, fill, and bake. Baked cookies freeze well too; thaw overnight before serving.
Recipe FAQs
Can I skip the icing?
Sure, but it adds a lovely tangy-sweet finish.
My cookies spread too much!
Chill the dough longer, and don’t skip the fridge time before baking.
Can I use jarred lemon juice?
Fresh is best for zest and juice, but bottled works in a pinch.
Troubleshooting Tips
- Cracked Icing? Drizzle it thinner, or add a splash more lemon juice.
- Curd Overflow? Use less filling ½ teaspoon is plenty!
- Dry Dough? Over-measuring flour can cause this. Spoon and level gently.

Lemon Thumbprint Cookies
- Total Time: 30 minutes
- Yield: 24 cookies 1x
- Diet: Vegetarian
Ingredients
For the Dough:
- 2 and 1/4 cups (281g) all-purpose flour
- 1 tablespoon (8g) cornstarch
- 1/4 teaspoon salt
- 14 tablespoons (200g) unsalted butter
- 3/4 cup (150g) granulated sugar
- 1 tablespoon fresh lemon zest
- 1 tablespoon fresh lemon juice
- 1 large egg
- 1 teaspoon vanilla bean paste (or vanilla extract)
For Coating & Filling:
- 1/2 cup (100g) granulated sugar
- 1/2 cup (140g) lemon curd
For the Icing:
- 1 cup (120g) confectioners’ sugar
- 2 tablespoons (30ml) fresh lemon juice
Instructions
1. Make the Dough
In a medium bowl, I whisk together the flour, cornstarch, and salt until they’re best friends. Set that aside. In a large bowl, I cream the butter and sugar with my mixer until it’s fluffy and pale about 1 minute. Then, I add the lemon zest, lemon juice, egg, and vanilla. At first, it’ll look a little curdled (don’t panic!), but once I mix in the dry ingredients, it smooths out beautifully.
2. Chill the Dough
This dough is soft, so I cover the bowl and refrigerate it for at least 3 hours (or up to 3 days). Chilling firms it up, making it easier to shape later.
3. Shape & Sugar-Coated Magic
After chilling, I line baking sheets with parchment. I scoop cold dough into 1-tablespoon balls, roll each in granulated sugar, and place them 2 inches apart. Then, I press my thumb (or the back of a teaspoon) into the center of each to make a little well.
4. Fill ‘Em Up
I spoon ½ teaspoon of lemon curd into each indentation. Pro tip: Don’t overfill the curd bubbles a bit while baking.
5. Bake to Perfection
I preheat the oven to 350°F (177°C) and pop the baking sheets back in the fridge while it heats. Cold dough = less spreading! Bake for 12–13 minutes until the edges are just golden. Let them cool on the sheet for 5 minutes, then transfer to a rack.
6. Drizzle the Icing
Once cool, I whisk the confectioners’ sugar and lemon juice into a thin glaze. Drizzle it over the cookies with a fork or squeeze bottle. Let it set for 30 minutes then dig in!
Notes
Chill Like a Pro Cold dough is your BFF here. If it warms up while shaping, pop the baking sheet back in the fridge.
Zest Smart Use a microplane to avoid bitter white pith.
Curds & Jams Warm thick jams slightly for easier filling.
- Prep Time: 15 minutes
- Cook Time: 15 minutes
- Category: Dessert
- Method: Baking
- Cuisine: American
Nutrition
- Serving Size: 1 cookie
- Calories: 140 kcal
- Sugar: 8 g
- Sodium: 100 mg
- Fat: 7 g
- Saturated Fat: 4.5 g
- Trans Fat: 0 g
- Carbohydrates: 18 g
- Fiber: 0 g
- Protein: 1 g
- Cholesterol: 20 mg
Wish I had tried these yrs ago, so easy & delicious. I’ll be making them often from now on.