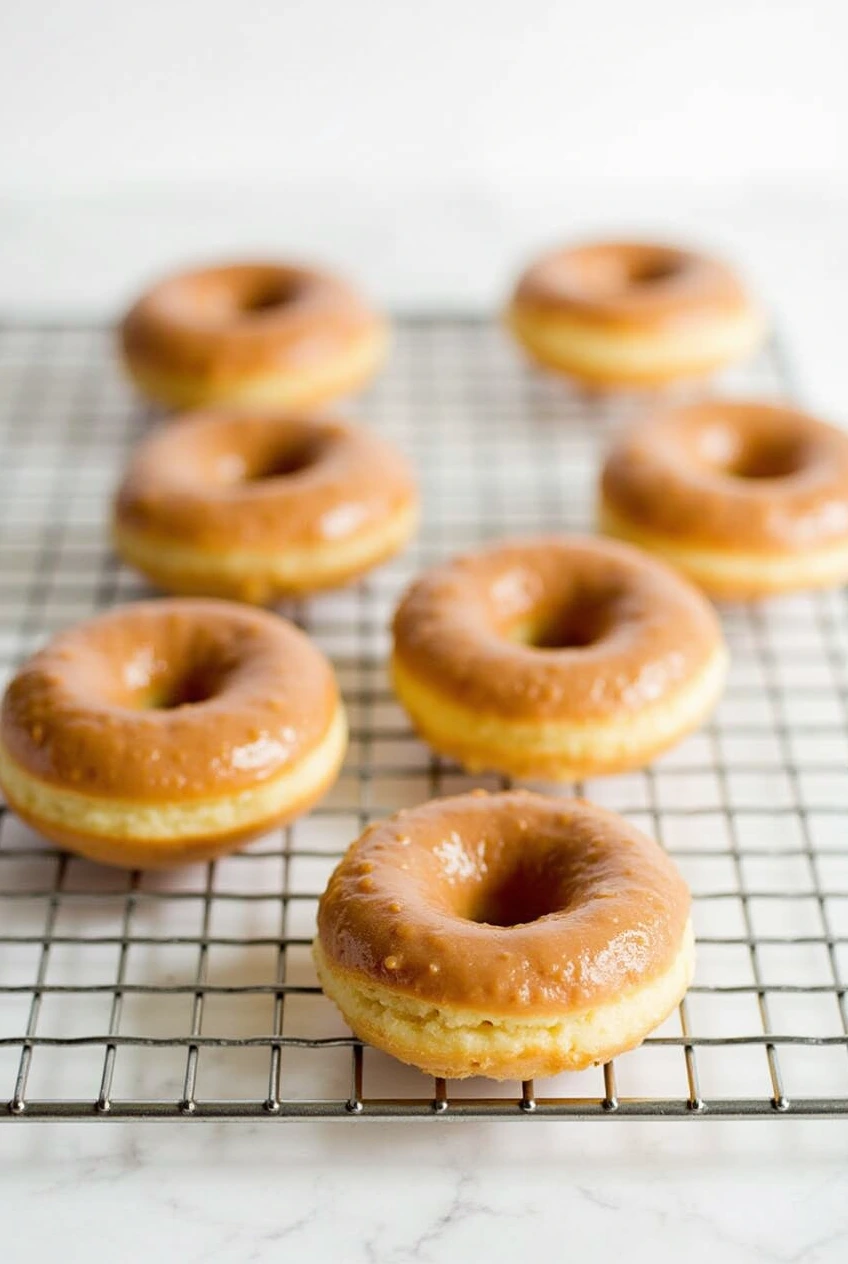
I love baking and doughnuts, especially the old fashioned cake kind. These treats are a big part of American food, known for their crispy outside and soft inside. In this guide, we’ll dive into their history, what you need to make them, and how to do it at home.
Whether you’re new to baking or already a pro, you’ll learn a lot here. We’ll cover everything from the doughnut’s texture to frying them. You’ll become a doughnut expert in no time.
The Rich History of Old Fashioned Cake Doughnuts
The story of the old fashioned cake doughnut is fascinating. It goes back to the early days of American food. These fried treats have been loved by many for generations.
The Dutch settlers of New Amsterdam started it all. Over time, the recipe changed, becoming a key part of American food.
As these treats became more popular, famous bakeries and dedicated bakers emerged. They made the old fashioned cake doughnut a beloved American classic. Places like Krispy Kreme and local shops have made these treats a staple in the country’s food scene.
These doughnuts stand out because of their traditional making and flavors. Unlike airy doughnuts, they have a dense, cake-like texture. This gives them a rich crumb and a golden, crispy outside.
Essential Ingredients for Perfect Cake Doughnuts
Making the perfect cake batter doughnuts needs a special mix of ingredients. At the core are all-purpose flour, granulated sugar, and large eggs. Flour gives the dough structure, sugar adds sweetness, and eggs bind everything together.
Baking powder and baking soda make the doughnuts light and fluffy. Whole milk adds moisture, and a bit of salt boosts the flavor. Unsalted butter adds a rich, creamy texture.
Using top-notch, fresh ingredients is key. If you need to, try non-dairy milk or gluten-free flour. With these ingredients, you can make delicious doughnuts at home.
The Science Behind Crispy Exteriors and Tender Crumbs
Getting the perfect mix of crispy outside and soft inside is what makes doughnuts so good. It’s all about the right mix of ingredients and how they’re cooked. Knowing the chemistry behind it is crucial for making amazing dessert doughnuts.
The secret to the crispy edges is the Maillard reaction. This is when sugars and amino acids in the dough react to heat. This makes the doughnuts golden and crunchy on the outside.
To keep the inside soft and fluffy, you need to get the fat, flour, and leavening just right. The right amount of butter or oil makes the dough soft. Baking powder or yeast helps it rise, making it light and airy.
With the right knowledge, anyone can make doughnuts that are crispy on the outside and soft on the inside. It’s all about mastering the science to get that perfect taste and texture.
Step-by-Step Guide to Making Old Fashioned Cake Doughnuts
Get ready to dive into the world of homemade doughnuts! Making these traditional treats from scratch is a fun and rewarding experience. Your kitchen will fill with the amazing smell of freshly fried doughnuts. Let’s start making your own old-fashioned cake doughnuts.
First, collect your ingredients: flour, sugar, baking powder, salt, nutmeg, eggs, milk, and butter. Mix the dry ingredients in one bowl. Then, whisk the wet ingredients in another. Slowly add the wet mixture to the dry, until you get a smooth, thick batter.
Chilling the dough is crucial for perfect doughnut shapes. Refrigerate the batter for at least 30 minutes. After chilling, roll or pat the dough to about 1/2-inch thickness on a floured surface. Use a doughnut cutter or round cookie cutters to cut out your doughnut shapes.
Now, it’s time to fry! Heat oil in a heavy-bottomed pan or Dutch oven to 350°F. Carefully place the doughnut shapes in the hot oil. Fry for 1-2 minutes on each side, until they’re golden brown. Drain on a paper towel-lined plate and let cool slightly before glazing or topping.
With this guide, you’ll be making homemade doughnuts like a pro. Enjoy the joy of making these old-fashioned cake doughnuts from scratch. Share the love with your family and friends.
Tips for Achieving the Perfect Doughnut Shape
Making old fashioned cake doughnuts or bakery-style doughnuts is an art. Shaping the dough is key to getting the perfect doughnut form. The shape affects the doughnut’s look and feel.
Using a doughnut cutter or ring is a good way to shape old fashioned cake doughnuts. It makes a round shape with a hole in the middle. To get the old fashioned look, pinch and stretch the dough.
You can also shape the dough by hand. Roll and flatten it into a round shape. This method lets you make doughnuts your own size and shape. Try different ways to find what works best for you.
It’s all about finding the right balance when shaping doughnuts. With practice, you’ll make old fashioned cake doughnuts that look great and taste amazing.
Mastering the Art of Doughnut Frying
Frying doughnuts is an art that requires skill. To get that perfect golden-brown outside and soft inside, you need to master frying. Let’s explore the key techniques for making your doughnuts sizzle to perfection.
Keeping the oil at the right temperature is key. It should be between 350°F and 375°F. If it’s too low, doughnuts will soak up too much oil and feel greasy. If it’s too high, they’ll burn before they’re fully cooked.
Timing is also very important. Fry doughnuts for 1 to 2 minutes on each side. This ensures they’re evenly browned. If they’re overcooked, they’ll be dry and tough. If they’re undercooked, they’ll be doughy.
Use the right equipment and follow safety rules when frying. A heavy pot or Dutch oven is best, and a frying thermometer is essential. Always be careful with hot oil to avoid accidents.
Classic Glazes and Creative Toppings
Make your homemade glazed doughnuts even better with tasty glazes and toppings. Try a vanilla glaze for a simple yet delicious taste. Or, go for a chocolate glaze for a rich, smooth finish.
Want to try something new? Add creative toppings for extra flavor and looks. Toasted coconut, chopped nuts, or cinnamon-sugar can make your doughnuts look amazing. You can also use a fruit glaze or sprinkles for a fun touch.
Homemade doughnuts are all about making them your own. Let your creativity shine with unique flavors and designs. Whether you like a classic glaze or something more fun, you can make your doughnuts special.
Storing and Reheating Your Homemade Doughnuts
The sweet smell of freshly baked doughnuts is amazing! But how do you keep them delicious? I’ve got tips for storing and reheating your doughnuts.
First, store them right to keep the taste and texture perfect. Cool your doughnuts completely before storing. Put them in an airtight container at room temperature for up to 2 days. For longer storage, the fridge is great – they can last 5 days. Just remember to let them come to room temperature before eating.
Reheating is easy. For a warm, crispy doughnut, heat them in the oven at 350°F for 5-7 minutes. This keeps the outside crispy and the inside soft. For a softer doughnut, a quick microwave will work. Just watch them to avoid making them tough.
For even longer storage, freeze your doughnuts. Wrap them in plastic wrap or use an airtight container. They’ll last up to 2 months. To enjoy, thaw at room temperature or reheat in the oven for a treat.
Troubleshooting Common Doughnut Making Problems
Making old fashioned cake doughnuts can be tricky at first. But don’t worry, I’m here to help you fix any problems. A common issue is doughnuts that are tough and chewy. To fix this, try adjusting the flour and liquid in your recipe.
Use a bit less flour or add more buttermilk or milk. This should make your doughnuts softer and more tender.
Another problem is doughnuts that are greasy. This might happen if the oil isn’t hot enough or if you fry too many at once. Keep the oil between 350°F and 375°F. Also, fry only a few doughnuts at a time to let the oil circulate well.
Uneven cooking is another issue. If your doughnuts brown too fast but are still raw inside, lower the heat. Fry them for a bit longer. Also, adjusting the size and thickness of your doughnuts can help them cook evenly.
FAQ
What are Old Fashioned Cake Doughnuts?
Old Fashioned Cake Doughnuts are a classic American treat. They have a dense, cakey texture and a unique craggy exterior. People love them for breakfast or dessert.
How do Old Fashioned Cake Doughnuts differ from other doughnuts?
They use a thick, cake-like batter, unlike other doughnuts. This makes them crispy on the outside and tender inside. It’s what makes them special.
What are the essential ingredients for making Old Fashioned Cake Doughnuts?
You’ll need flour, sugar, eggs, buttermilk or sour cream, baking powder, and spices like nutmeg. These ingredients are the base for a great cake doughnut.
How do I achieve the signature craggy exterior on my homemade doughnuts?
To get the classic look, shape and fry the doughnuts carefully. Use a sharp cutter and fry at the right temperature. This will give you the craggy edges you want.
What are some tips for frying Old Fashioned Cake Doughnuts perfectly?
Fry them at 350°F to 375°F. Cook for 1-2 minutes on each side. This ensures they’re crispy but not burnt. Drain them on paper towels to remove excess oil.
Can I make Old Fashioned Cake Doughnuts ahead of time?
Yes, you can! Store them in an airtight container for up to 3 days. Freeze for up to 2 months. Reheat at 350°F for a few minutes to crisp them up again.
What are some common issues I might encounter when making Old Fashioned Cake Doughnuts?
Issues like tough doughnuts or greasiness can happen. Adjust the ingredients and frying methods to fix these problems. The right mixing, resting, and frying are key to success.
Print
Old Fashioned Cake Doughnuts
Ingredients
- All-purpose flour
- Granulated sugar
- Baking powder
- Salt
- Nutmeg
- Large eggs
- Whole milk (or non-dairy milk)
- Unsalted butter
Instructions
- Mix dry ingredients: In one bowl, combine flour, sugar, baking powder, salt, and nutmeg.
- Whisk wet ingredients: In another bowl, whisk together eggs, milk, and melted butter.
- Combine mixtures: Slowly add the wet mixture to the dry ingredients, stirring until you get a smooth, thick batter.
- Chill dough: Refrigerate the batter for at least 30 minutes to firm up.
- Shape doughnuts: Roll or pat the dough to about 1/2-inch thickness on a floured surface. Use a doughnut cutter or round cookie cutters to cut out shapes.
- Fry doughnuts: Heat oil to 350°F in a heavy-bottomed pan or Dutch oven. Fry doughnuts for 1-2 minutes on each side, until golden brown.
- Drain and cool: Remove doughnuts from oil and drain on paper towels. Let them cool slightly before glazing or topping.
Notes
- Shaping doughnuts: Use a doughnut cutter or ring to get a traditional shape, or shape by hand for custom sizes and forms.
- Frying tips: Keep oil between 350°F and 375°F. Fry only a few doughnuts at a time to avoid overcrowding the oil.
- Glazes & Toppings: Add a vanilla or chocolate glaze for a classic touch. Experiment with toppings like toasted coconut, chopped nuts, or cinnamon-sugar.
- Storage: Store in an airtight container at room temperature for up to 2 days or refrigerate for up to 5 days. Reheat in the oven at 350°F for 5-7 minutes to retain crispiness.
- Freezing: Wrap doughnuts and freeze for up to 2 months. Thaw at room temperature or reheat in the oven.

