
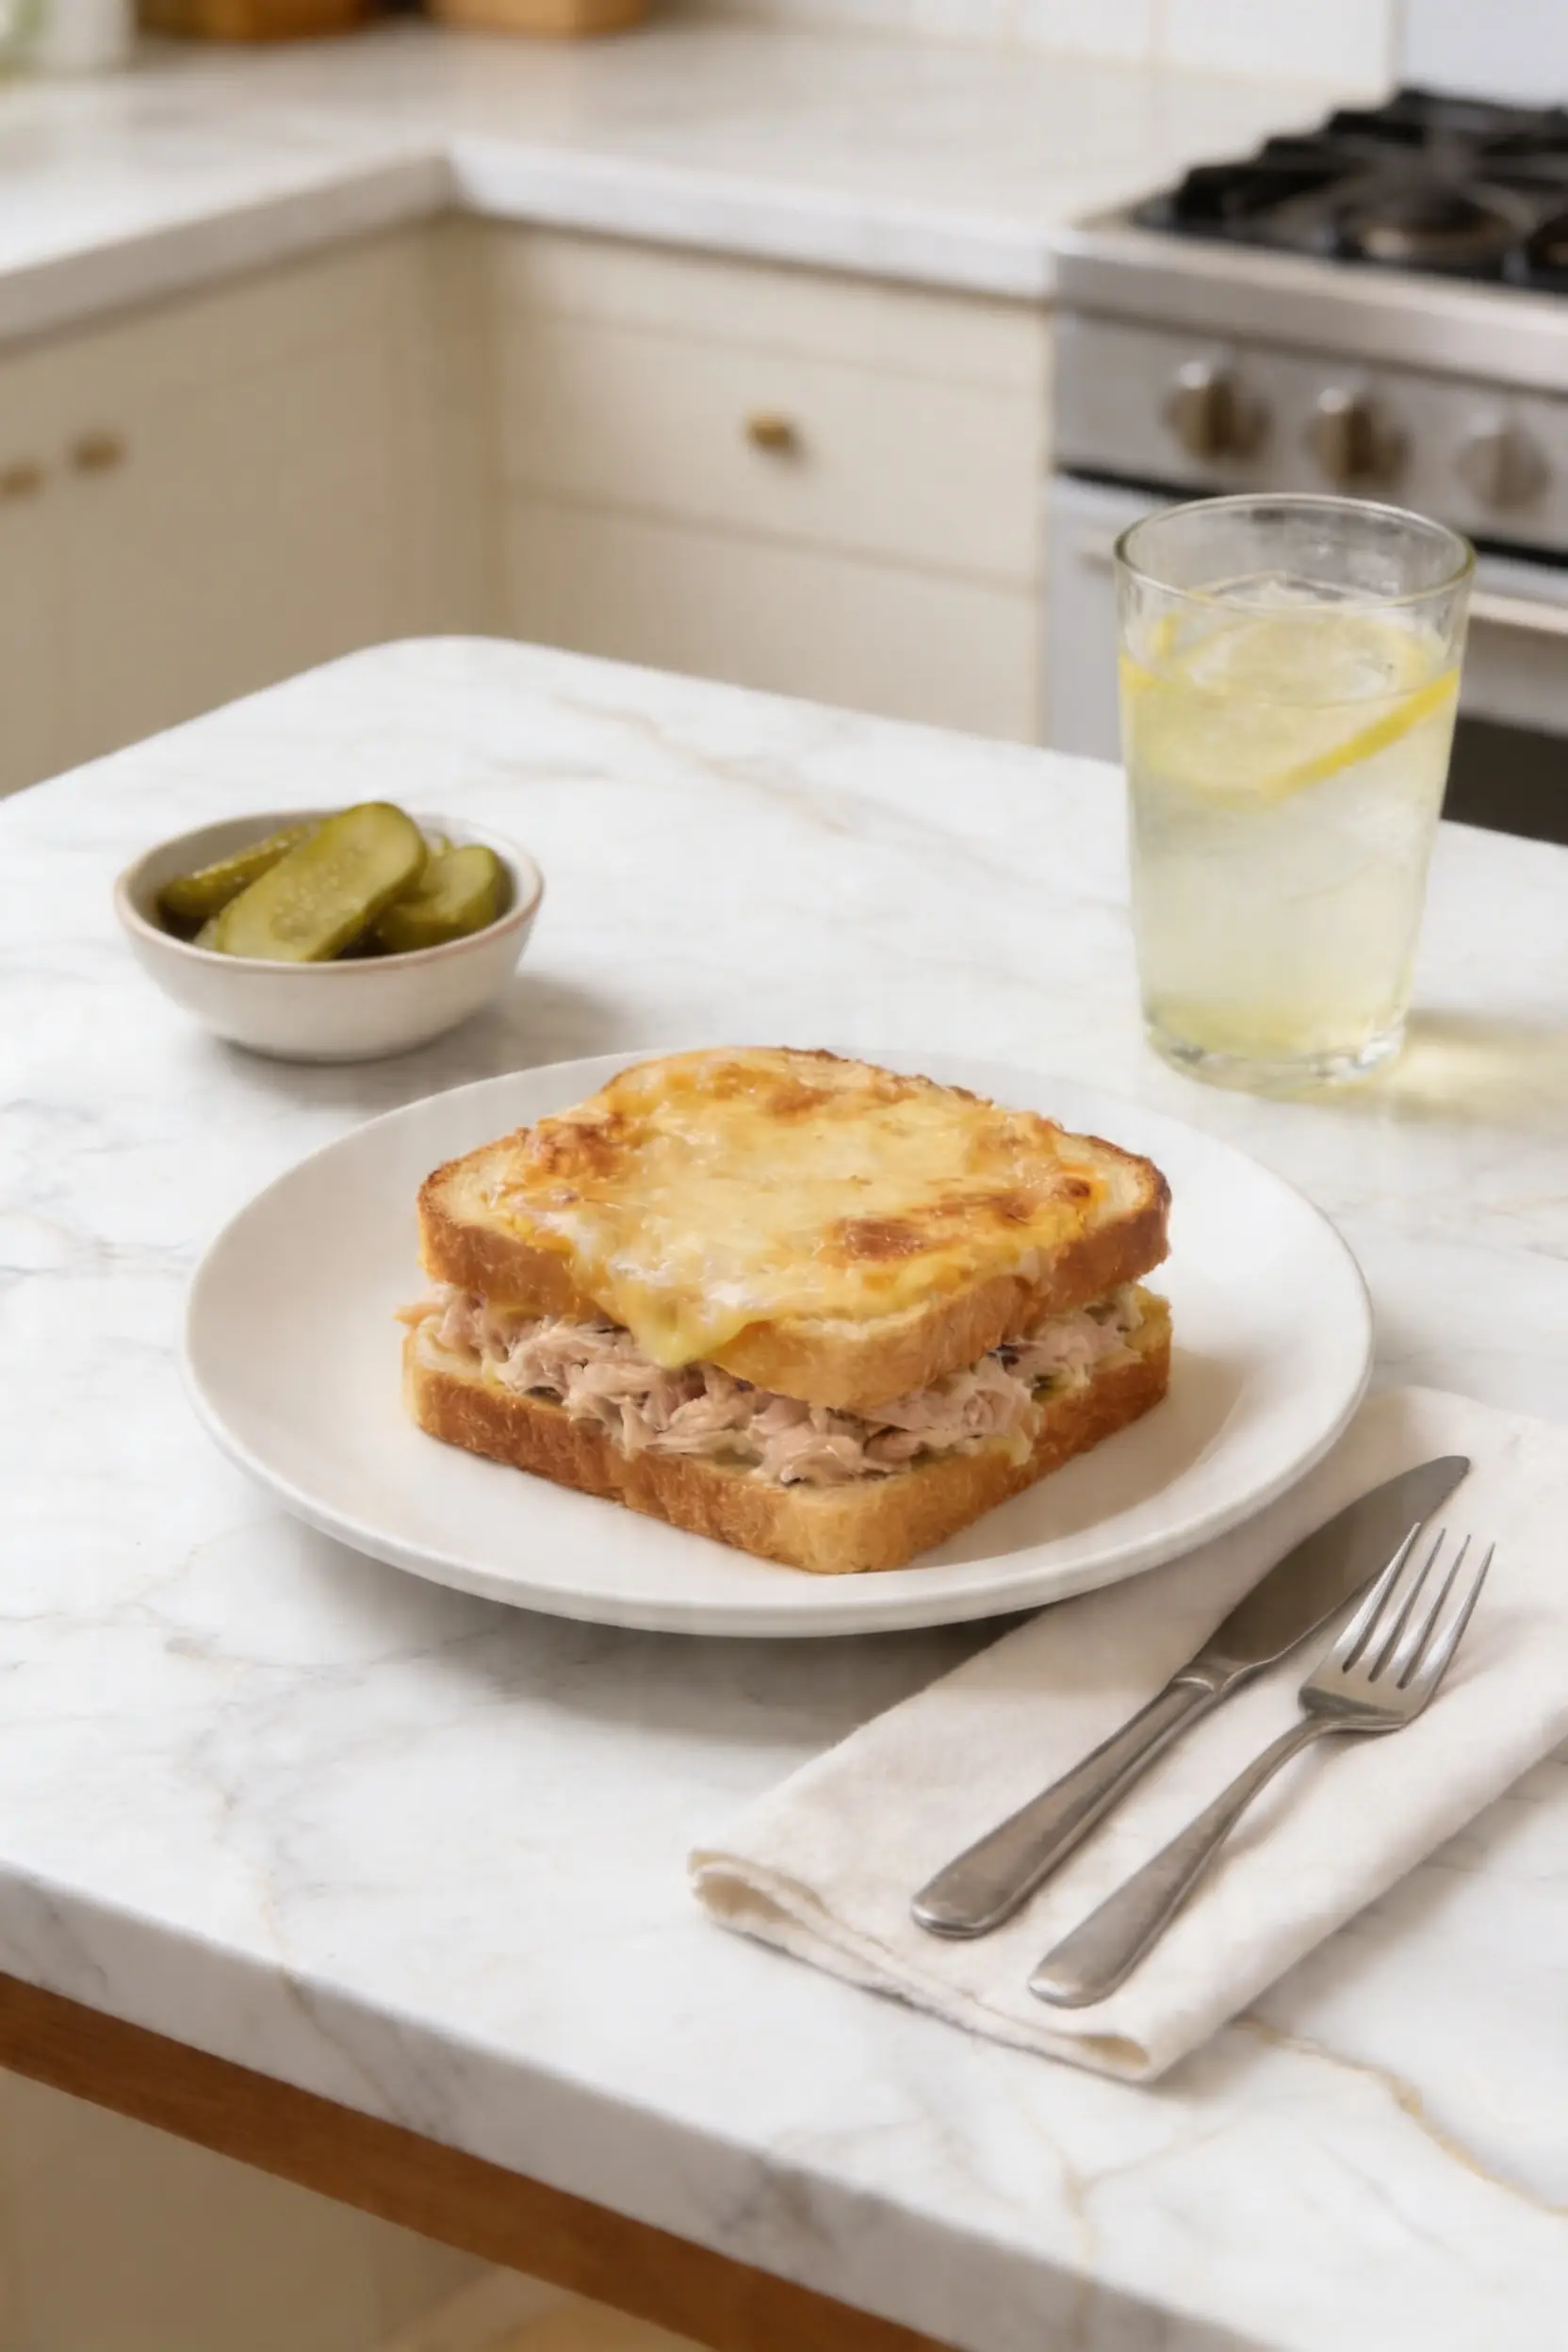
Tuna melt toast is one of those lunches I keep coming back to, no matter what else is in the fridge. I made it on a rainy Tuesday with nothing but pantry staples, and it reminded me why this combination has stayed popular for decades. Buttery, golden bread, a creamy tuna filling, and a blanket of melted cheddar jack cheese that gets just slightly crispy at the edges. It takes about 20 minutes from start to finish, which makes it a weeknight staple for me.
What I love about this version is the sweet relish. It adds a little brightness to the filling that cuts right through the richness of the mayo and cheese. The scallions bring a mild sharpness without overpowering anything, and the softened butter on the outside of the bread is what gives you that diner-style crunch everyone’s looking for. If you’ve only ever had a tuna melt at a restaurant, you’ll be surprised how easy it is to nail at home.
Ingredients
- 2 five-ounce cans tuna, well drained
- 4 tablespoons softened butter
- 2 tablespoons chopped scallions
- 1/4 cup real mayonnaise
- 8 slices of bread (white, sourdough, or your preference)
- 1 tablespoon sweet relish
- Salt and pepper to taste
- 2 cups shredded cheddar jack cheese
How To Make This Tuna Melt Toast
- Drain and mix the filling. Drain both cans of tuna thoroughly, pressing out as much liquid as possible with a fork. Add the tuna to a medium bowl along with the mayonnaise, sweet relish, and scallions. Mix until everything is combined and the mixture holds together. Season with salt and pepper.
- Butter the bread. Spread about half a tablespoon of softened butter on one side of each bread slice. All 8 slices get buttered on one side only. This is what goes directly on the pan.
- Assemble the sandwiches. Lay 4 slices of bread butter-side down on your work surface. Divide the tuna mixture evenly across these 4 slices, spreading it all the way to the edges. Sprinkle the shredded cheddar jack generously over the tuna layer, then top each with a second slice of bread, butter-side facing up.
- Toast the first side. Heat a large skillet or griddle over medium heat. Place the sandwiches butter-side down into the pan. Cook for 3 to 4 minutes until the bottom is deep golden brown and the cheese has started to melt.
- Flip carefully. Add a small extra pat of butter to the pan if it looks dry, then flip each sandwich with a wide spatula. Press down lightly. Cook for another 2 to 3 minutes until the second side is golden and the cheese is fully melted through.
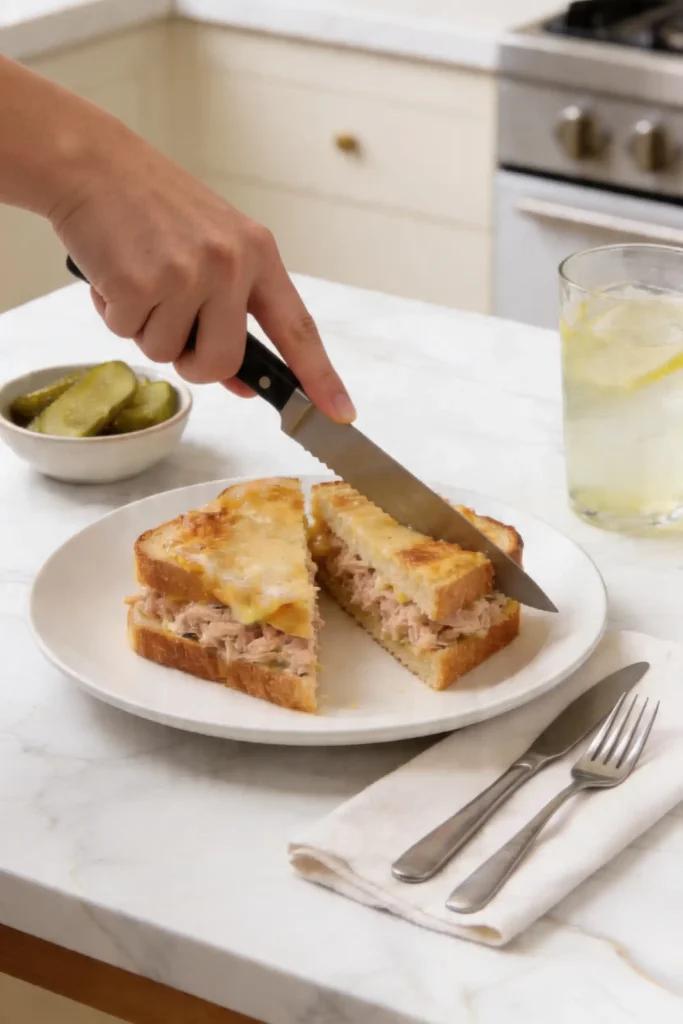
- Rest and slice. Remove from the pan and let the sandwiches rest for about a minute before cutting. Slice diagonally and serve immediately.
The Best Bread for Tuna Melt Toast
White sandwich bread is the most classic choice, and it does give you that soft, pillowy interior with a crispy shell. That said, sourdough is my personal pick when I have it. The slight tang plays really well against the creamy tuna filling, and thicker slices hold up better without getting soggy in the middle.
Rye bread is another solid option if you want something with more flavor. It’s a little heartier and works especially well if you’re going for an open-faced version under the broiler. Whatever you choose, just make sure the slices aren’t too thin or they’ll compress and lose their structure when pressed.
Avoid anything with too many holes or a very open crumb, like ciabatta. The filling tends to seep through and you’ll lose cheese out the sides before it even melts properly.

Open-Faced vs. Closed Sandwich
The version in this recipe is a closed, pan-toasted sandwich, but the open-faced style deserves mention because it’s genuinely different. For an open-faced tuna melt toast, you spread the tuna mixture onto a single slice of bread, top it with cheese, and broil it for 1 to 2 minutes until the cheese bubbles and starts to brown at the edges.
The open-faced version has a different texture altogether. You get a crunchier base and more exposed cheese on top, which gets slightly caramelized. It’s also faster since you skip the flipping step entirely.
Both work well. The closed sandwich feels more substantial and portable; the open-faced version is a bit lighter and looks great on a plate. If you’re serving this for a casual lunch, go closed. If you’re doing a quick solo meal or want something that feels a little more elevated, try it open-faced under the broiler.
What to Serve with Tuna Melt Toast
Chips are the most natural pairing, and there’s a reason every diner puts them on the plate. The crunch contrast is part of the appeal. Kettle-style chips with a little salt work especially well. A simple green salad with a bright vinaigrette is a good call if you want something lighter on the side to balance the richness.
Soup is another great match. Something like a tomato soup or a light broth-based option sits well alongside a cheesy, buttered sandwich. I’ve paired this with my Healthy Tuna Salad when I wanted more protein without more bread, and it works as a two-dish spread.
For a faster option, sliced cucumber or celery sticks alongside the sandwich gives you something fresh and crunchy that doesn’t require any extra prep.
How to Get the Cheese to Melt Properly
The biggest issue people run into with a tuna melt toast is the bread getting dark before the cheese fully melts in the center. The fix is simple: use medium heat, not medium-high. The lower temperature gives the cheese time to melt through while the bread colors evenly.
Using shredded cheese instead of sliced is also helpful here. Shredded cheese melts faster and distributes more evenly across the tuna layer. Cheddar jack is a great choice because it has both a sharp flavor from the cheddar and a creamier melt from the Monterey jack. You also get a nice pull when you cut the sandwich in half.
Covering the pan with a lid for the last minute of cooking on the first side is a trick worth trying. It traps steam and helps the cheese soften from both the bottom heat and the trapped moisture above.
Variations Worth Trying
Canned tuna is standard, but the filling is flexible. I’ve made this with chunk light tuna and with solid white albacore, and both work. Albacore has a firmer texture and slightly milder flavor; chunk light is softer and more shred-ready.
You can add a spoonful of Dijon mustard to the filling for sharpness, or a few dashes of hot sauce if you want a little heat. Some people add diced celery for extra crunch, similar to a classic tuna salad. That works well if the filling feels too soft. Check out my Egg Salad Sandwich for a similar creamy-filling sandwich approach that translates well to this style.
Cheese swaps are worth experimenting with too. Swiss gives a nuttier, milder flavor. Pepper jack adds heat. American cheese melts the smoothest of all and gives you that glossy, diner-style finish.
Pro Tips
- Drain the tuna really well. Press it against the can with a fork before adding it to the bowl. Extra moisture makes the filling runny and leads to soggy bread.
- Don’t skip the resting time after cooking. One minute off heat lets the cheese set slightly so it doesn’t run everywhere when you cut it.
- The tuna filling can be made up to 3 days ahead and stored in an airtight container in the fridge. Assemble and cook the sandwiches fresh.
- If you’re making these for a group, keep finished sandwiches in a 200°F oven on a baking sheet while you cook the remaining batches.
- Shred your own cheese if possible. Pre-shredded cheese contains anti-caking agents that affect how cleanly it melts.
- For a lighter version, swap half the mayo for plain Greek yogurt. The texture stays creamy but feels less heavy.
Frequently Asked Questions
Can I make the filling ahead of time?
Yes, the tuna mixture keeps well in the fridge for up to 3 days in a sealed container. Just give it a quick stir before using it, since the mayo can settle slightly. Don’t assemble the sandwiches until you’re ready to cook them.
Can I use a different type of cheese?
Absolutely. American cheese melts the smoothest and gives a classic diner look. Cheddar adds sharpness, Swiss brings a nutty flavor, and pepper jack gives you a spicy kick. Any good melting cheese works fine here.
How do I store leftover tuna melt toast?
Wrap cooled sandwiches tightly and refrigerate for up to 2 days. Reheat in a dry skillet over medium heat or in a toaster oven until the bread crisps up and the cheese softens again. Avoid the microwave if possible since it makes the bread soggy.
Why is my bread burning before the cheese melts?
Your heat is likely too high. Drop it down to medium or even medium-low and give the sandwich more time. Covering the pan with a lid for a minute or two also helps the interior heat up faster without charring the outside.
Print
Tuna Melt Toast
- Total Time: 20 minutes
- Yield: 2 servings (2 toasts) 1x
Ingredients
- 2 five-ounce cans tuna, well drained
- 4 tablespoons softened butter
- 2 tablespoons chopped scallions
- 1/4 cup real mayonnaise
- 8 slices of bread (white, sourdough, or your preference)
- 1 tablespoon sweet relish
- Salt and pepper to taste
- 2 cups shredded cheddar jack cheese
Instructions
- Drain and mix the filling. Drain both cans of tuna thoroughly, pressing out as much liquid as possible with a fork. Add the tuna to a medium bowl along with the mayonnaise, sweet relish, and scallions. Mix until everything is combined and the mixture holds together. Season with salt and pepper.
- Butter the bread. Spread about half a tablespoon of softened butter on one side of each bread slice. All 8 slices get buttered on one side only. This is what goes directly on the pan.
- Assemble the sandwiches. Lay 4 slices of bread butter-side down on your work surface. Divide the tuna mixture evenly across these 4 slices, spreading it all the way to the edges. Sprinkle the shredded cheddar jack generously over the tuna layer, then top each with a second slice of bread, butter-side facing up.
- Toast the first side. Heat a large skillet or griddle over medium heat. Place the sandwiches butter-side down into the pan. Cook for 3 to 4 minutes until the bottom is deep golden brown and the cheese has started to melt.
- Flip carefully. Add a small extra pat of butter to the pan if it looks dry, then flip each sandwich with a wide spatula. Press down lightly. Cook for another 2 to 3 minutes until the second side is golden and the cheese is fully melted through.
- Rest and slice. Remove from the pan and let the sandwiches rest for about a minute before cutting. Slice diagonally and serve immediately.
Notes
- Drain the tuna really well. Press it against the can with a fork before adding it to the bowl. Extra moisture makes the filling runny and leads to soggy bread.
- Don’t skip the resting time after cooking. One minute off heat lets the cheese set slightly so it doesn’t run everywhere when you cut it.
- The tuna filling can be made up to 3 days ahead and stored in an airtight container in the fridge. Assemble and cook the sandwiches fresh.
- If you’re making these for a group, keep finished sandwiches in a 200°F oven on a baking sheet while you cook the remaining batches.
- Shred your own cheese if possible. Pre-shredded cheese contains anti-caking agents that affect how cleanly it melts.
- For a lighter version, swap half the mayo for plain Greek yogurt. The texture stays creamy but feels less heavy.
- Prep Time: 10 minutes
- Cook Time: 10 minutes
- Category: Snack
- Method: Stovetop
- Cuisine: American
Nutrition
- Serving Size: 1 tuna melt toast
- Calories: 400 kcal
- Sugar: 4 g
- Sodium: 800 mg
- Fat: 22 g
- Saturated Fat: 8 g
- Unsaturated Fat: 13 g
- Trans Fat: 0.5 g
- Carbohydrates: 30 g
- Fiber: 3 g
- Protein: 22 g
- Cholesterol: 50 mg